

Water is lazy—it will always find the path of least resistance to enter your home. On a roof, that path is almost always the crack where your shingles meet a vertical wall, chimney, or dormer. If you rely solely on caulk or a single piece of metal to seal this gap, your roof will eventually leak.
The solution is a step flashing roof system. It acts as a “zipper” that seals these vulnerable joints, ensuring that water flows over your shingles rather than under them. This guide explains what step flashing is, how it differs from other roof metals, and how to install it on an existing roof to stop leaks for good.
What is Step Flashing on a Roof?
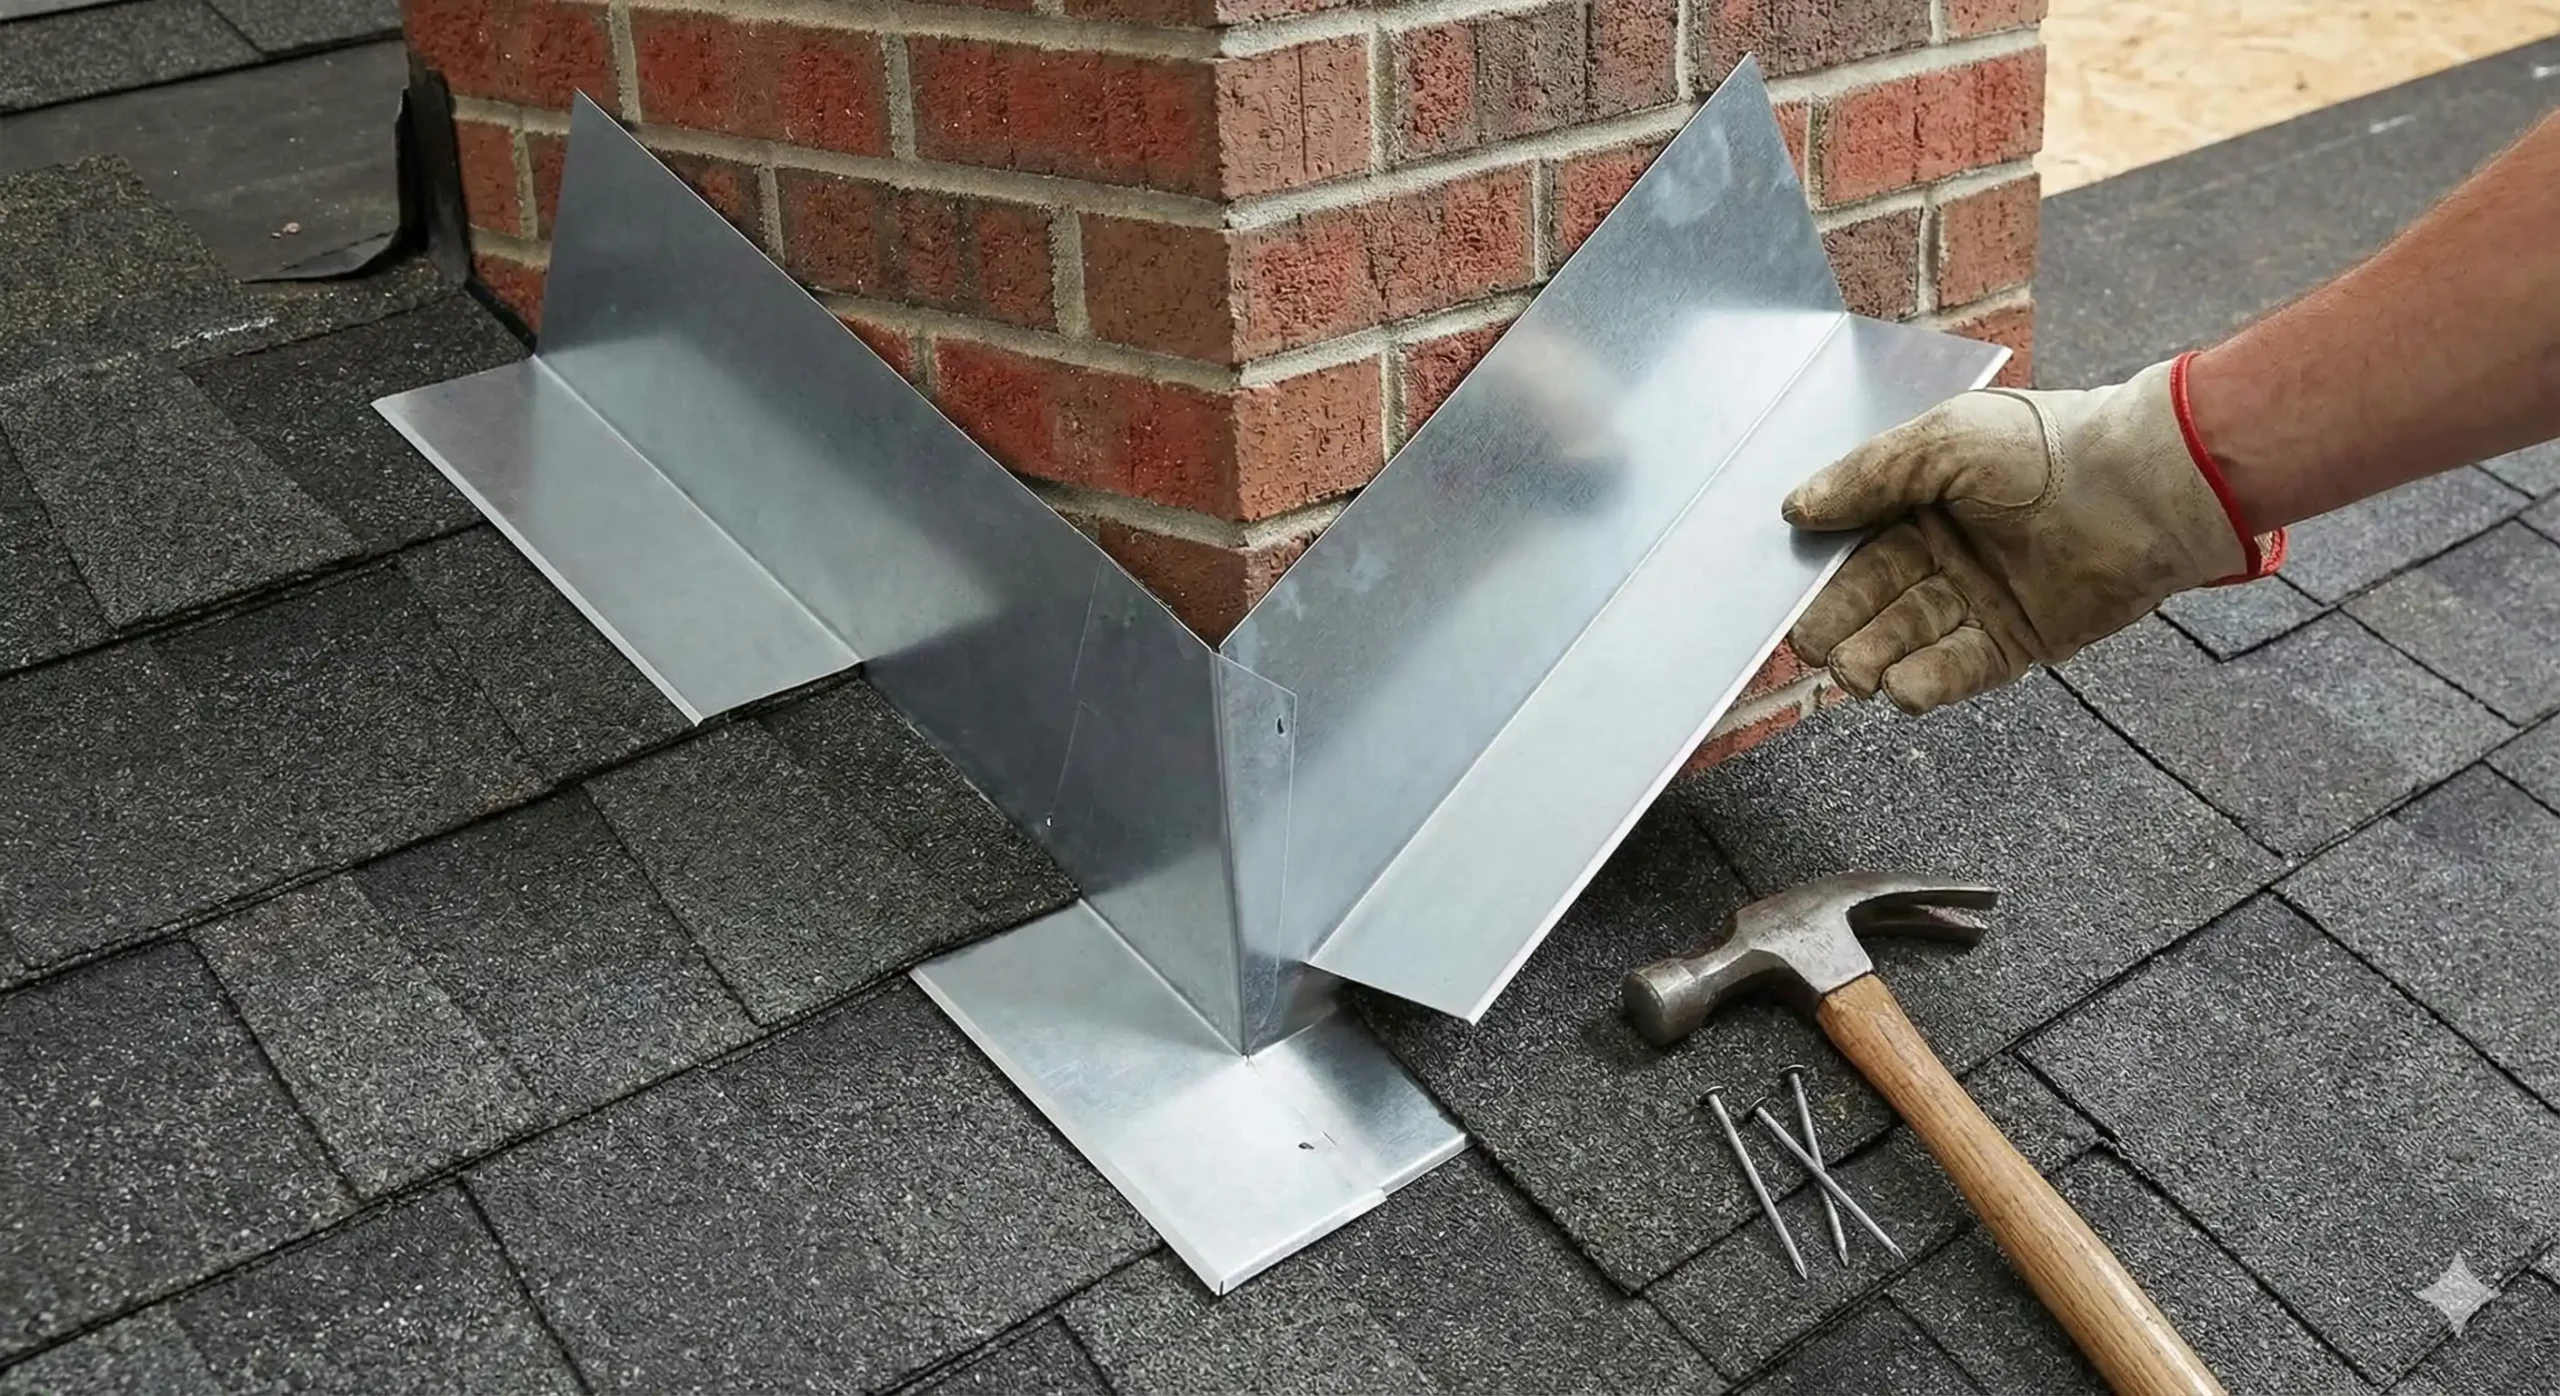
If you search for “what is step flashing on a roof”, you will find that it is not a single long strip of metal. Instead, step flashing consists of multiple individual pieces of sheet metal, typically bent at a 90-degree angle. These pieces are usually 10 inches long and 7 inches wide.
The Design The “step” name comes from the installation pattern. Each piece of flashing overlaps the one below it, climbing up the wall in a stair-step pattern. One side of the “L” shape sits flat on the roof deck (under the shingle), while the other side stands upright against the vertical wall (behind the siding).
Materials
- Aluminum: The most common choice because it is easy to bend and resistant to rust.
- Galvanized Steel: Stronger but can eventually rust if the coating wears off.
- Copper: Used for high-end roofing projects for its durability and aesthetic patina.
How Does Step Flashing Prevent Leaks?
Homeowners often ask, “How does step flashing prevent leaks?”. The secret lies in the layering, often called the “shingle-flash-shingle” sandwich.
Unlike continuous flashing (a single long strip), step flashing moves with the roof. If you used a single long piece of metal, the expansion and contraction of the roof deck would eventually cause it to buckle or warp, creating gaps for water to enter.
The Mechanism:
- Water Flows Down: Rain runs down the wall or roof.
- Hits the Step: If water gets underneath a shingle edge near the wall, it lands on the metal flashing step hidden beneath it.
- Kicked Out: Because the flashing overlaps the shingle below it, the water is directed out onto the surface of the next shingle down. This process repeats until the water reaches the gutter.
Step Flashing vs. Drip Edge vs. Counter Flashing
It is easy to confuse the different types of roof metal. A common query is, “What is the difference between drip edge and step flashing?”.
- Drip Edge: This goes on the perimeter of the roof (the eaves and rakes). Its job is to kick water away from the fascia board to prevent rot.
- Step Flashing: This goes on intersections where the roof meets a vertical wall (sidewalls, chimneys, dormers).
- Counter Flashing: This is often used with brick chimneys. Step flashing goes under the shingles and up the brick, but you cannot slide it behind the brick. So, a second piece of metal (counter flashing) is cut into the mortar joints to hang down and cover the top of the step flashing, ensuring rain cannot fall behind it.
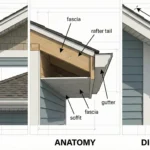
Pro Tip: Properly installed drip edges and flashing protect your trim. If these fail, water can rot the board that sits just under your eaves. You can read more about what is a frieze board to understand the components that rely on good water management.
How to Install Step Flashing on Existing Roof
Installing step flashing on a new roof is easy, but doing it on an existing roof (retrofit) requires care to avoid damaging the shingles. Search volume data indicates many people are looking for “how to install step flashing on existing roof”.
Tools Needed:
- Flat bar (pry bar)
- Tin snips
- Hammer & Roofing Nails (or roofing sealant for brittle shingles)
- Step flashing cards (approx. 10″ x 7″)
The Step-by-Step Process:
- Remove Old Material: If there is old caulking or damaged flashing, carefully remove it. You may need to pry up the siding or remove the bottom course of siding to access the wall.
- Lift the Shingles: Use a flat bar to gently separate the shingles from the one below. Be careful—old shingles can be brittle and crack easily.
- The “Sandwich” Install:
- Slide the first piece of flashing under the first shingle, aligning the bottom edge just above the exposure line of the shingle below.
- Secure it with a nail high up on the flashing flange (into the roof deck, never into the vertical wall). Nailing to the wall creates a “buckle point” if the house settles.
- Note: If your shingles are too brittle to nail, you can use a high-quality polyurethane roof sealant to bond the flashing in place.
- Repeat Up the Roof: Place the next shingle over that flashing. Then, place the next piece of flashing on top of that shingle. Repeat this pattern up the wall.
- Kick-Out Flashing: At the very bottom, the first piece of flashing should have a specialized “kick-out” bend to direct water away from the siding and into the gutter. If you miss this, water will run down the inside of your wall.
Warning: Neglecting this repair can lead to rotted roof decking and sheathing. This structural damage is significantly more expensive than a simple repair. Check the roof replacement cost to understand the financial risks of ignoring a $50 flashing problem.
Conclusion
Step flashing is the unsung hero of a watertight home. While it might seem like a small detail compared to the shingles themselves, it is the primary defense against wall rot and ceiling leaks. Whether you are dealing with a “step flashing roof” repair or a new install, ensuring that each step overlaps correctly will keep your home dry for decades.
If you notice rust spots on your sidewalls or peeling paint near your roofline, don’t wait. Grab a flat bar and inspect your flashing today.
Video Guide: For a visual demonstration on how to retrofit step flashing on an older roof, you can watch this helpful guide: https://www.youtube.com/watch?v=mbH4fIOpyaw