

Having a smoke alarm installed on your ceiling is not enough to protect your household. If the battery is dead or the sensor is clogged with dust, that life-saving device is nothing more than a useless piece of plastic. Fire spreads incredibly fast in modern homes due to synthetic furnishings, meaning early detection is your only reliable defense.
Testing your smoke alarms takes less than sixty seconds per unit, yet it is the single most critical monthly habit for home safety. Let’s break down exactly where your alarms should be positioned, how to conduct a proper monthly test, and the strict maintenance schedule you must follow to ensure they function when you need them most.
Where Should Smoke Alarms Be Installed?
Because smoke naturally rises and spreads rapidly across ceilings, placement is everything. Installing an alarm in a dead air space (like the extreme corners of a room) will delay detection, potentially costing you precious evacuation time.
Whether you have owned your house for decades or are just ticking off your first apartment checklist, verifying the placement of your alarms is your immediate priority. The standard safety guidelines dictate:
- Every Level: You must have at least one functioning smoke alarm on every single level of your home, including finished attics and basements.
- Sleeping Areas: Install alarms inside every bedroom and outside in the immediate hallway or landing area. Because fires often break out at night, the alarm must be loud enough to wake heavy sleepers through a closed door.
- The Kitchen Rule: Kitchens are the leading cause of house fires, but placing a smoke alarm directly inside a kitchen guarantees endless false alarms from cooking steam or burnt toast. Instead, install the alarm on the landing or hallway area just outside the kitchen. Ensure it is at least 10 feet away from any cooking appliances to minimize nuisance tripping.
Step-by-Step: The Monthly Smoke Alarm Test
Do not assume an alarm is functioning just because a small green LED light is illuminated. The light only indicates that the unit is receiving power; it does not guarantee that the loud siren mechanism actually works. You must physically test the unit every month.
1. Alert Your Household
Before you begin, warn your family members, children, and anyone else in the house that you are about to conduct a test. The piercing, high-decibel siren of a smoke alarm is designed to be jarring and can easily cause panic or distress pets if it happens unexpectedly.
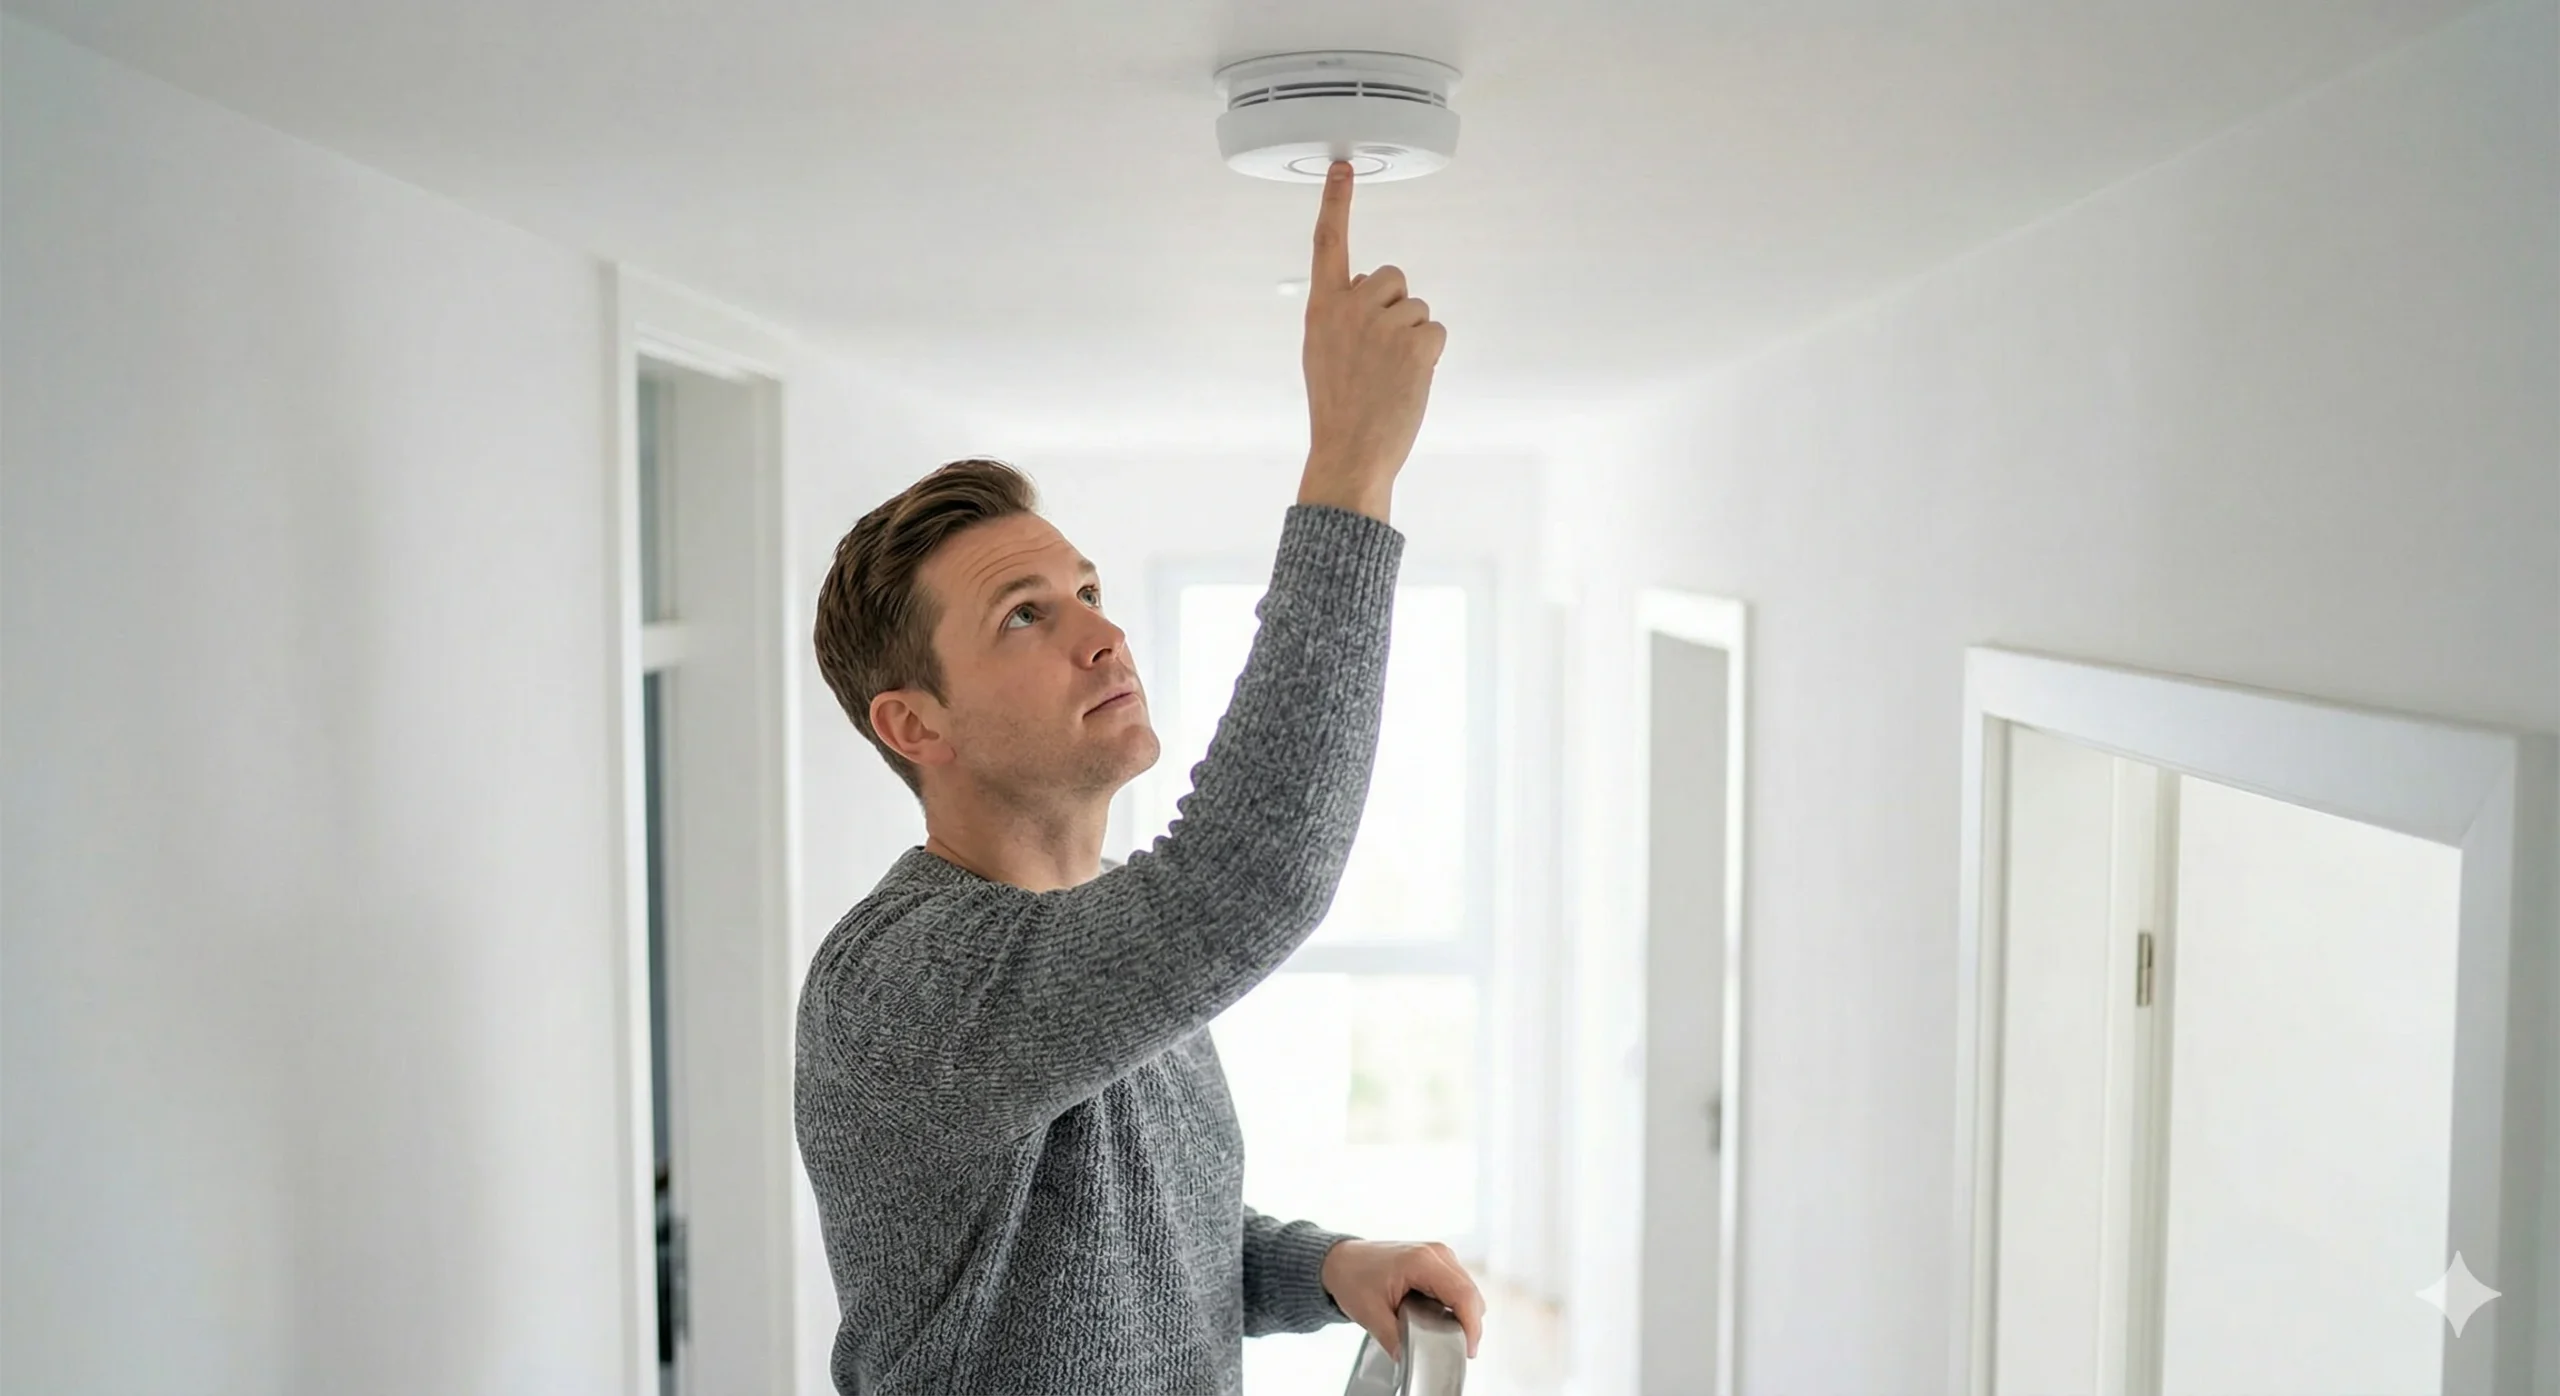
2. Press and Hold the Test Button
You do not need to climb a wobbly chair to reach the alarm. Grab a broom handle or a solid walking stick. Locate the central “Test” button on the face of the unit, press it firmly with the end of the handle, and hold it down for a few seconds.
3. Listen for the Siren
Almost immediately, the alarm should emit a loud, ear-piercing siren. It should sound robust and aggressive. If the alarm does not sound, or if the siren sounds weak, muffled, or distorted, you must replace the battery immediately. If a new battery does not fix a weak siren, the unit itself is broken and must be replaced the same day.
4. Check Interconnected Alarms
In modern homes, smoke alarms are often hardwired into the electrical system and interconnected via radio frequency or physical wiring. When you press the test button on one alarm, every single alarm in the house should sound simultaneously. This ensures that a fire starting in the basement will instantly trigger the alarm in the upstairs master bedroom.
Hardwired systems rely on your home’s mains power, so if multiple interconnected alarms fail to sound, you might need to check your consumer unit and investigate why do circuit breakers keep tripping to ensure the circuit powering your alarms has not been accidentally switched off.
The Maintenance Schedule: Batteries, Dust, and Expiry
Smoke alarms are incredibly reliable, but they are not maintenance-free. To keep your home protected, follow this strict timeline:
- Yearly Battery Replacements: Unless you have a sealed unit with a built-in 10-year lithium battery, you must replace your smoke alarm batteries at least once a year. Pick an easy-to-remember date, like New Year’s Day or the start of daylight saving time, to swap in fresh 9-volt batteries. Do not wait for them to die completely.
- The 6-Month Clean: Smoke alarms detect microscopic smoke particles. If the exterior grill is clogged with household dust, pet hair, or spider webs, the smoke cannot reach the sensor, severely delaying the alarm. Every six months, take the soft brush attachment of your vacuum cleaner and gently run it over the vents of the alarm to keep the airflow clear.
- The 10-Year Expiry Rule: This is the most frequently ignored safety rule. Every smoke alarm completely expires 10 years after its manufacturing date. The physical sensing elements inside the device (whether photoelectric or ionization sensors) degrade over time and lose their sensitivity. Even if the alarm sounds when you press the test button, a 10-year-old unit may not detect an actual fire. Remove the alarm from the ceiling, check the manufacturing date printed on the back, and throw the entire unit in the bin if it is a decade old.
How to Safely Handle False Alarms
There is nothing more frustrating than a smoke alarm blaring while you are simply trying to sear a steak or after you open a steamy bathroom door. However, your reaction to a false alarm dictates your future safety.
The Warning: Never remove the batteries or take the alarm off the ceiling to silence a nuisance trip. Countless fatal house fires occur in homes where the occupants removed a smoke alarm battery weeks earlier out of annoyance and simply forgot to put it back.
The Solution: If you trigger a false alarm, use a tea towel to aggressively fan the air away from the sensor. Open nearby windows and doors to ventilate the space. Most modern smoke alarms also feature a large “Hush” or “Silence” button. Pressing this will temporarily desensitize the alarm for roughly 10 minutes, giving you enough time to clear the cooking smoke without leaving your home unprotected later that night.
FAQs on Smoke Alarm Testing
Why is my smoke alarm chirping randomly, usually in the middle of the night? A consistent, high-pitched “chirp” or “beep” every 30 to 60 seconds is the universal low-battery warning. It often happens at 2 AM because household temperatures drop during the night, which causes the chemical reaction inside the battery to slow down, triggering a low-voltage reading. You must replace the battery immediately to stop the chirping and restore protection.
Do hardwired smoke alarms have batteries? Yes. Even if your smoke alarms are wired directly into your home’s electrical grid, they contain a backup battery. This backup ensures the alarms still function perfectly during a severe power cut or electrical storm. These backup batteries must be tested and replaced following the exact same yearly schedule as battery-only units.
Your home is your sanctuary, but it only takes one faulty wire or an unattended candle to change everything. Take sixty seconds right now, grab a broom handle, and walk through your house pressing the test button on every alarm. That one minute of effort is the ultimate investment in your family’s safety.