
Whether you are painting the wall behind the heater, installing new skirting boards, putting up reflective foil, or replacing the unit entirely with a modern vertical model, removing a radiator is a remarkably straightforward DIY job. You do not need a plumbing qualification to take a radiator off the wall safely.
However, you do need preparation. The water trapped inside your heating system is rarely clear. It is often pitch black, highly corrosive, and completely capable of permanently ruining expensive carpets and staining hardwood floors if you rush the process. Here is the definitive, step-by-step builder’s guide to isolating, draining, and removing a radiator without causing a single drop of water damage to your home.
Crucial Pre-Removal Prep (Protecting Your Floors)
Before you touch a single valve, you must prepare the environment and the system. Working on an active, pressurized central heating system is highly dangerous and guarantees a flood.
- Turn Off the Heating: Completely switch off your central heating system at the main thermostat or boiler control panel. You must allow all the radiators in the house to cool down entirely. Attempting to drain boiling hot water is a severe scalding hazard.
- The Tools You Need: Gather your equipment before you begin. You will need:
- Two adjustable spanners (wrenches).
- A standard radiator bleed key.
- A shallow bowl or a Tupperware container (it must be low enough to slide entirely under the radiator valves).
- Plenty of old, thick towels or dust sheets. Lay these out extensively around and under both ends of the radiator.
Step 1: Isolate the Radiator (Closing the Valves)
You do not need to drain the water from your entire house to remove one radiator. You simply need to lock the water inside that specific panel by closing the valves at both ends, effectively isolating it from the rest of the pipework.
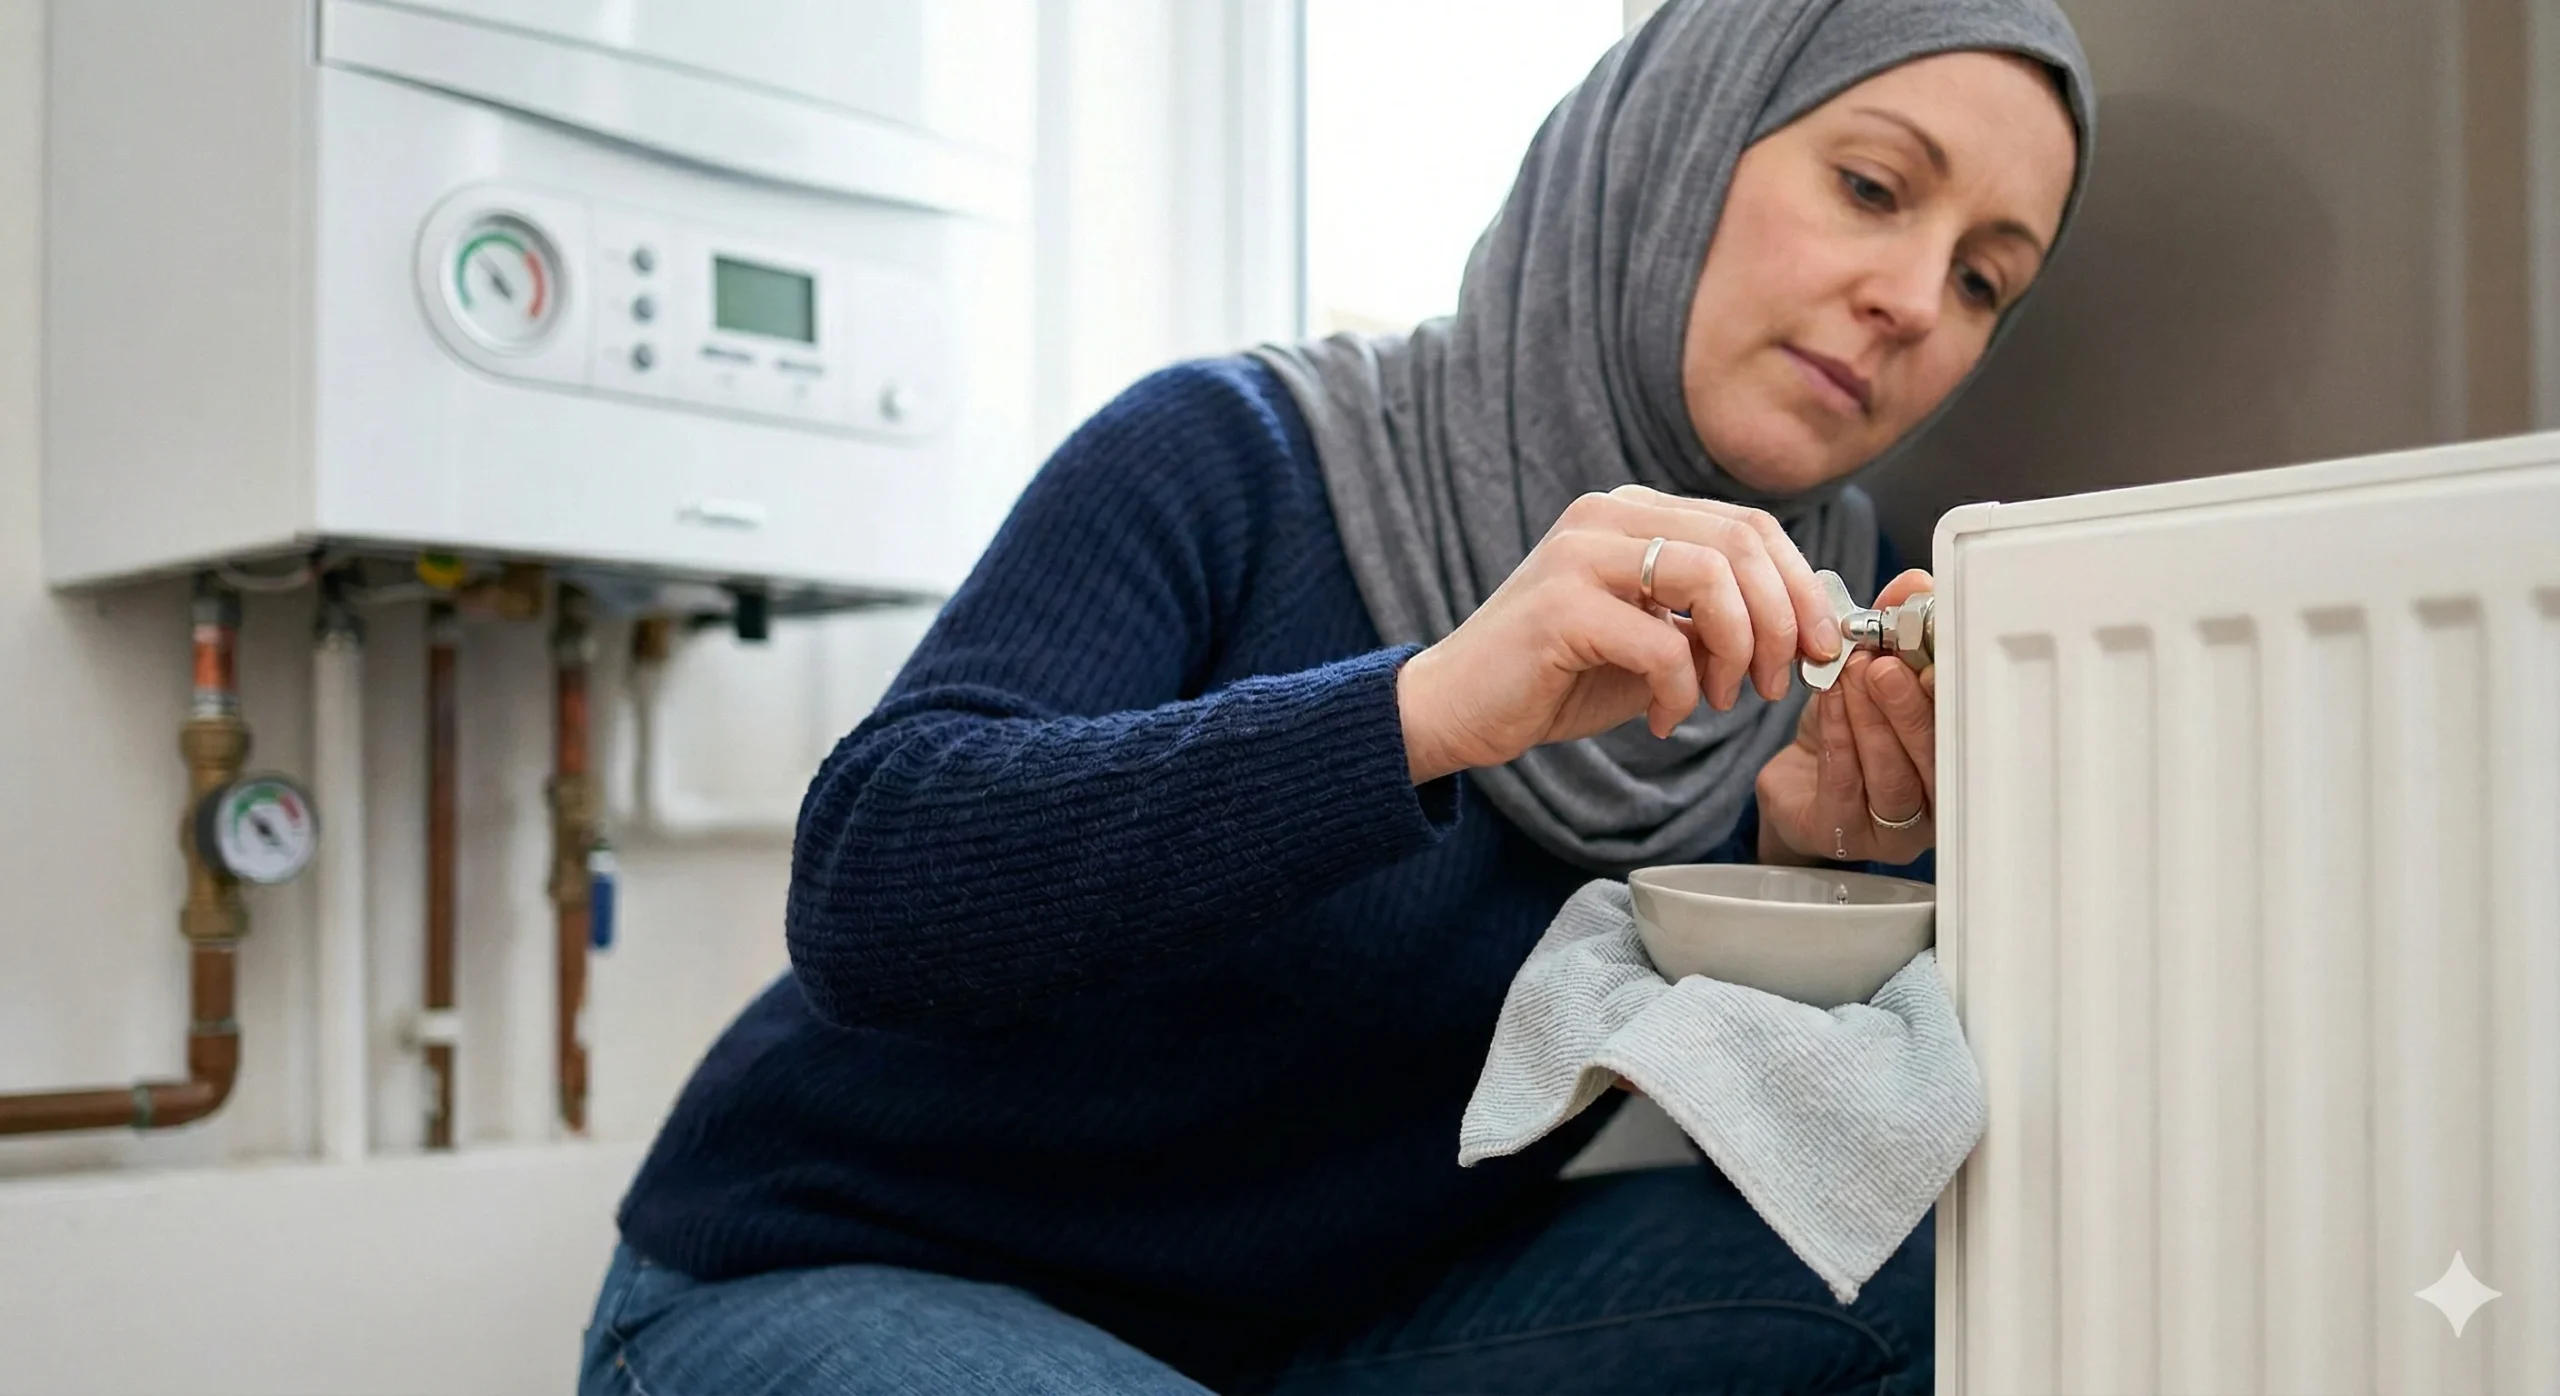
The TRV (Thermostatic Radiator Valve): Locate the valve with the numbered temperature dial (usually 0 through 5). Turn this dial completely clockwise until it reaches the ‘0’ or ‘Off’ position. This stops hot water from entering the radiator.
The Lockshield Valve: Move to the opposite end of the radiator. This valve is usually covered by a blank plastic cap. Pull the cap off to reveal a metal spindle.
- Pro Builder Tip: Take an adjustable spanner and turn this metal spindle clockwise until it stops tight. You must count the exact number of turns (or half-turns) it takes to close this valve. The lockshield valve is set by your plumber to balance the hot water flow for the entire house. When you eventually put the radiator back on the wall, you must open it the exact same number of turns, or this specific radiator will never heat up properly again. Write the number down.
Step 2: Drain the Water
With both valves securely closed, the radiator is isolated. Now, you must drain the trapped water out of the panel.
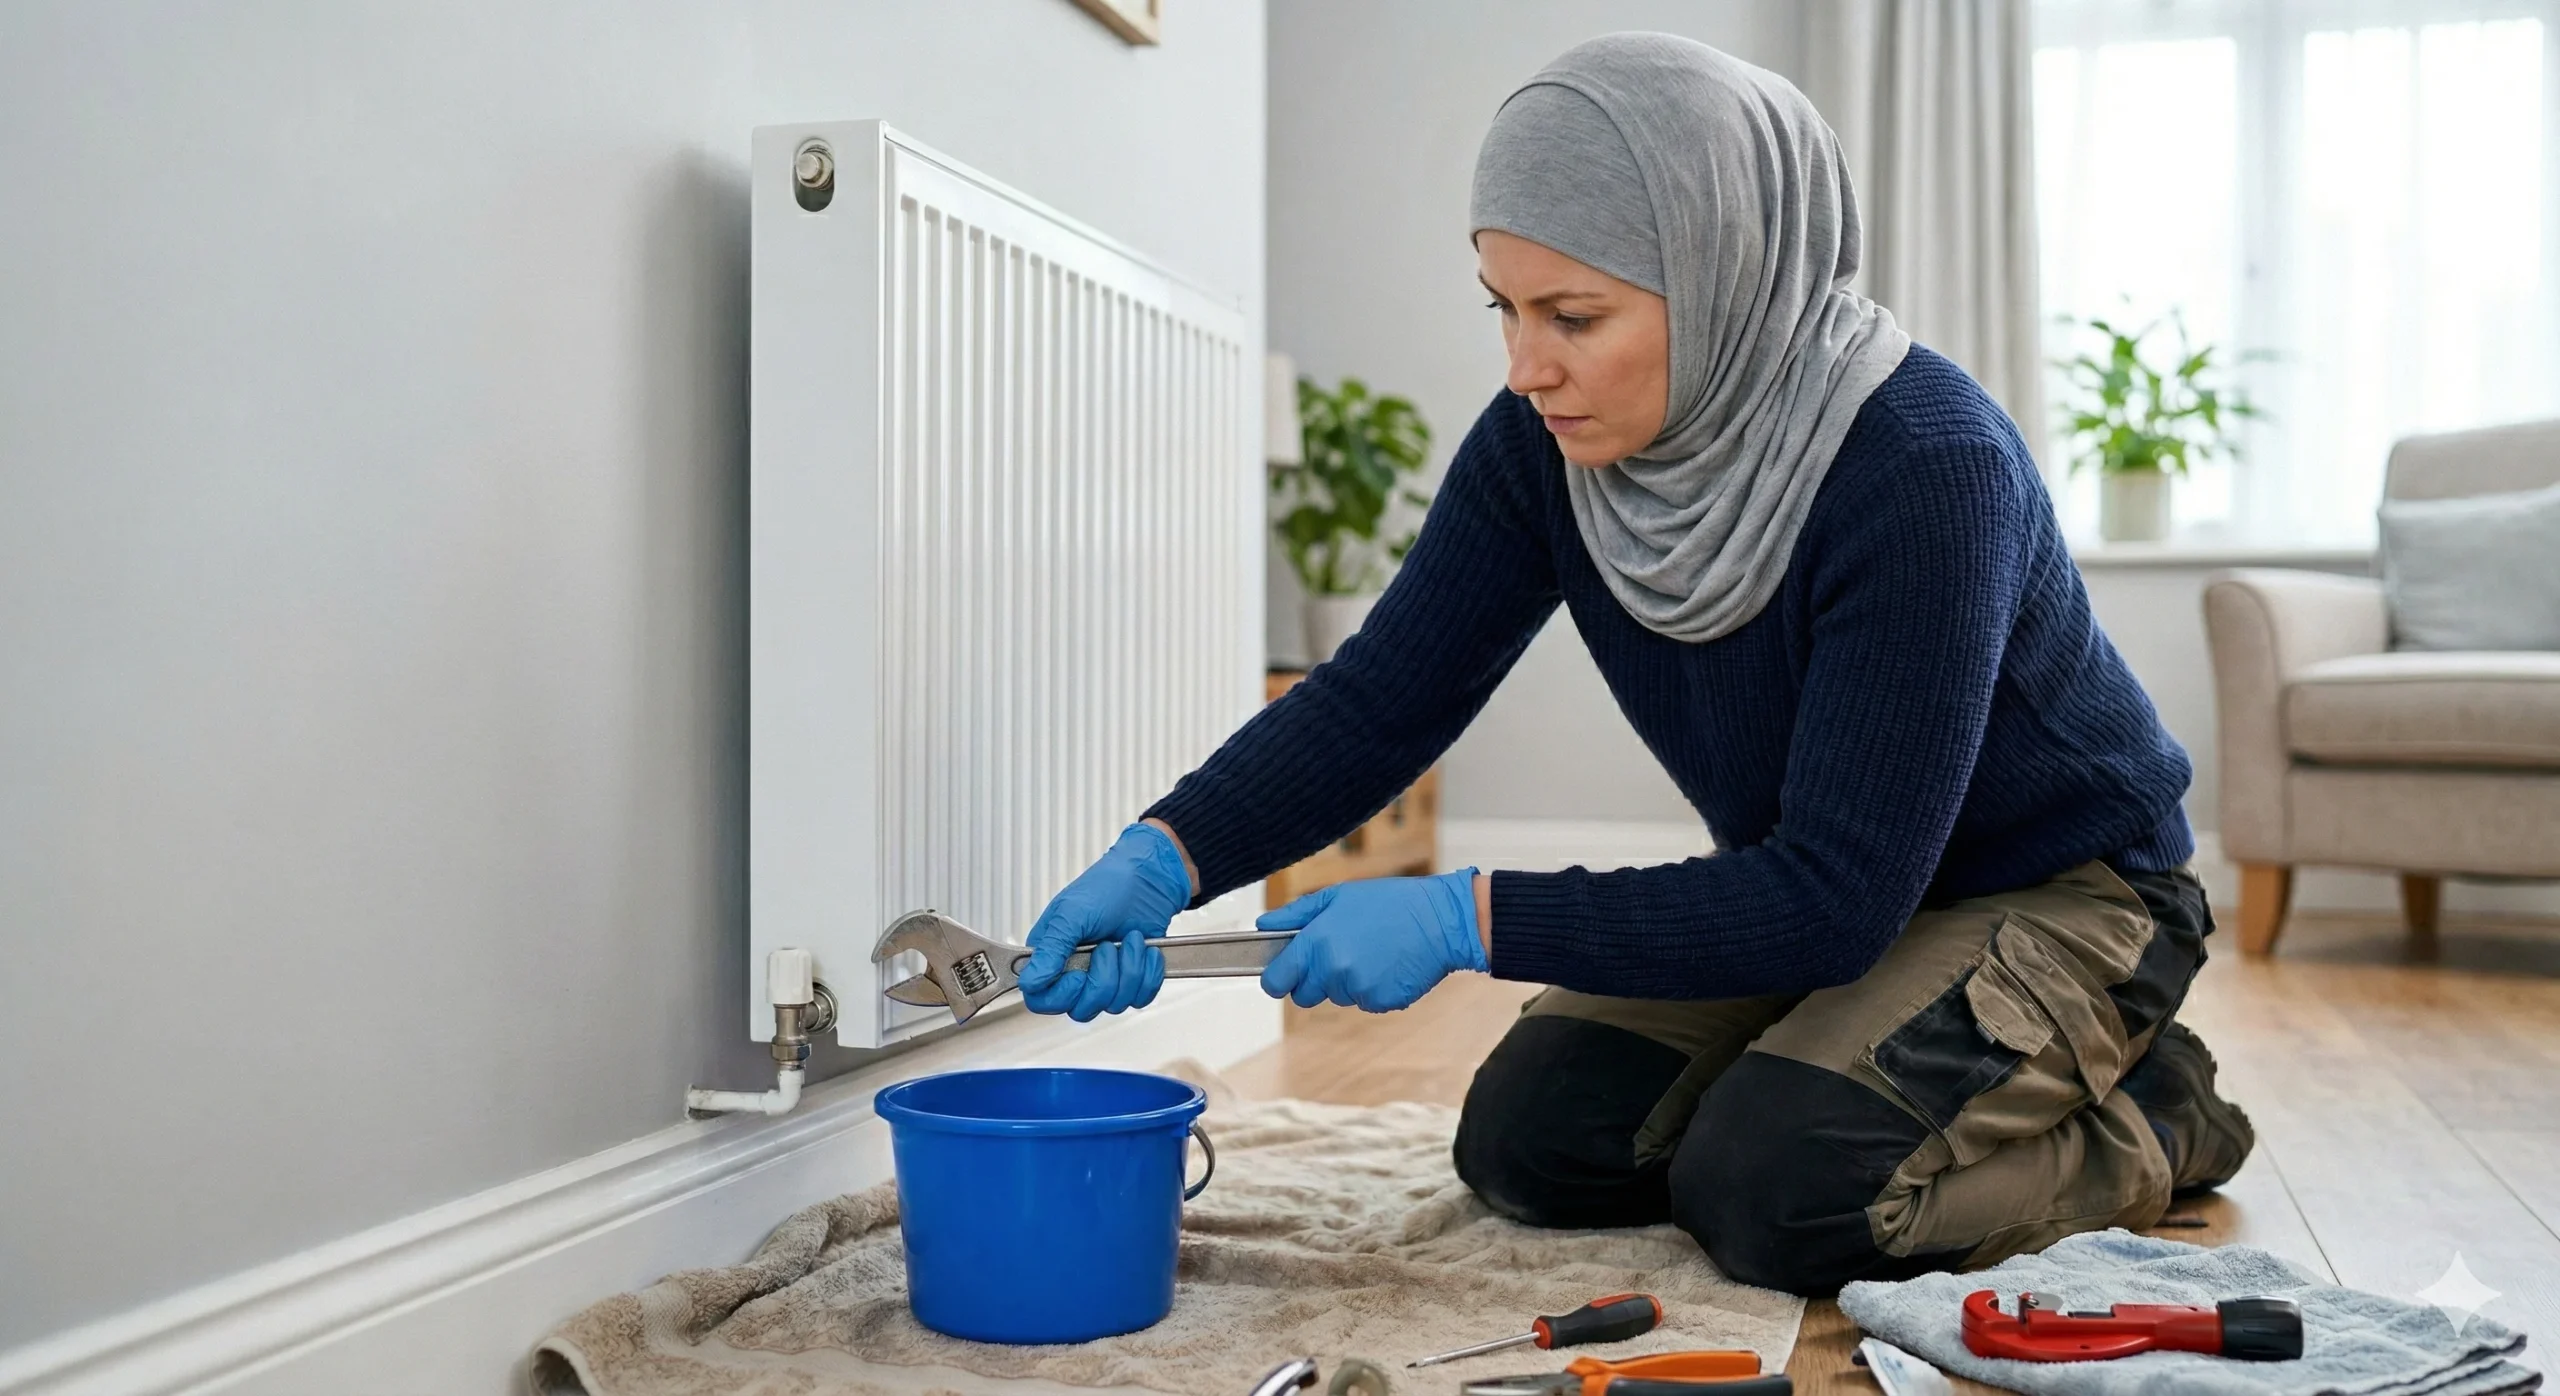
- Position Your Catchment: Place your old towels and the shallow bowl directly underneath the union nut on the TRV side. The union nut is the large metal nut that physically connects the valve to the radiator itself.
- The Two-Spanner Technique: Never use just one spanner. Grip the main body of the valve tightly with one adjustable spanner to hold it perfectly still. Use your second spanner to slowly loosen the union nut. If you do not hold the valve body still, the twisting force can easily snap the copper pipe underneath the floorboards.
- Bleed the Vacuum: As you loosen the nut, a few drops of water will appear, but it will not flow freely yet because there is an airtight vacuum inside the radiator. Take your radiator bleed key, insert it into the bleed valve at the very top of the radiator, and open it. Breaking this vacuum allows the air to rush in at the top, pushing the water rapidly out of the loosened bottom nut into your bowl.
- Empty and Repeat: As the bowl fills up, temporarily tighten the bottom union nut, empty the dirty water into a bucket, and loosen the nut again. Repeat this until the water stops flowing entirely.
Step 3: Lift, Tilt, and Remove
Once the water stops dripping from the TRV side, move your bowl to the lockshield side and loosen that union nut as well. Let any residual water drain out.
Get Help: Radiators, even relatively small single-panel models, are incredibly heavy, especially because they are made of thick steel and usually still contain pockets of water. The Tilt Method: Fully undo the nuts on both sides so the radiator is completely disconnected from the pipework. Carefully lift the radiator straight up and off its wall brackets. Immediately tilt the unit significantly to one side, aiming the open pipe connection into your bucket. This will flush out the remaining dirty water that was sitting below the valve line.
Cap the Pipes: If you are leaving the radiator off the wall for a few days to paint or wallpaper, do not leave the valves exposed. Buy cheap brass blanking caps from a hardware store and screw them over the open valves. If someone accidentally knocks the TRV dial, or the room temperature drops and triggers the valve’s frost protection, water will shoot out of the open pipe. If you accidentally trigger a leak while the radiator is off the wall, you will quickly find yourself researching how to reduce the pressure on a boiler as the system loses water, dumps its pressure, and shuts down entirely.
Post-Removal: Flushing the Sludge
If you are removing the radiator temporarily to decorate, take this opportunity to perform some highly effective maintenance. Carry the removed radiator out into the garden.
Attach a standard garden hose to your outside tap, push the nozzle into one of the open radiator valve connections, and turn the water on full blast. You will likely see thick, jet-black sludge pour out of the other end. Keep flushing the water through until it runs completely crystal clear. Rehanging a clean, sludge-free radiator will drastically improve the room’s heating efficiency and lower your energy bills.
FAQs on Radiator Removal
Do I need to turn off the mains water to remove a radiator? No. A central heating system is a sealed, closed loop that is separate from your drinking water taps. As long as you securely close both the TRV and the lockshield valve, the specific radiator you are working on is completely isolated from the rest of the heating system.
Why is the water inside my radiator black? That black water is called magnetite. It is a heavy, metallic sludge formed by the internal rusting and degradation of your steel radiators and iron pipework over years of use. It is a completely normal chemical reaction, but it should be manually flushed out if it gets too thick, as it blocks the internal channels and creates cold spots at the bottom of your heaters.
Removing a radiator requires patience, not brute force. By counting your lockshield turns, aggressively protecting your carpets with towels, using two spanners to protect the pipework, and never skipping the top bleed valve to release the vacuum, you can execute this plumbing task cleanly and professionally.