

If you are only using a toothbrush to clean your teeth, you are leaving an estimated 40% of your tooth surfaces completely untouched. A toothbrush is excellent at scrubbing the smooth fronts, backs, and chewing surfaces of your enamel, but its bristles physically cannot squeeze into the tight microscopic gaps between your teeth.
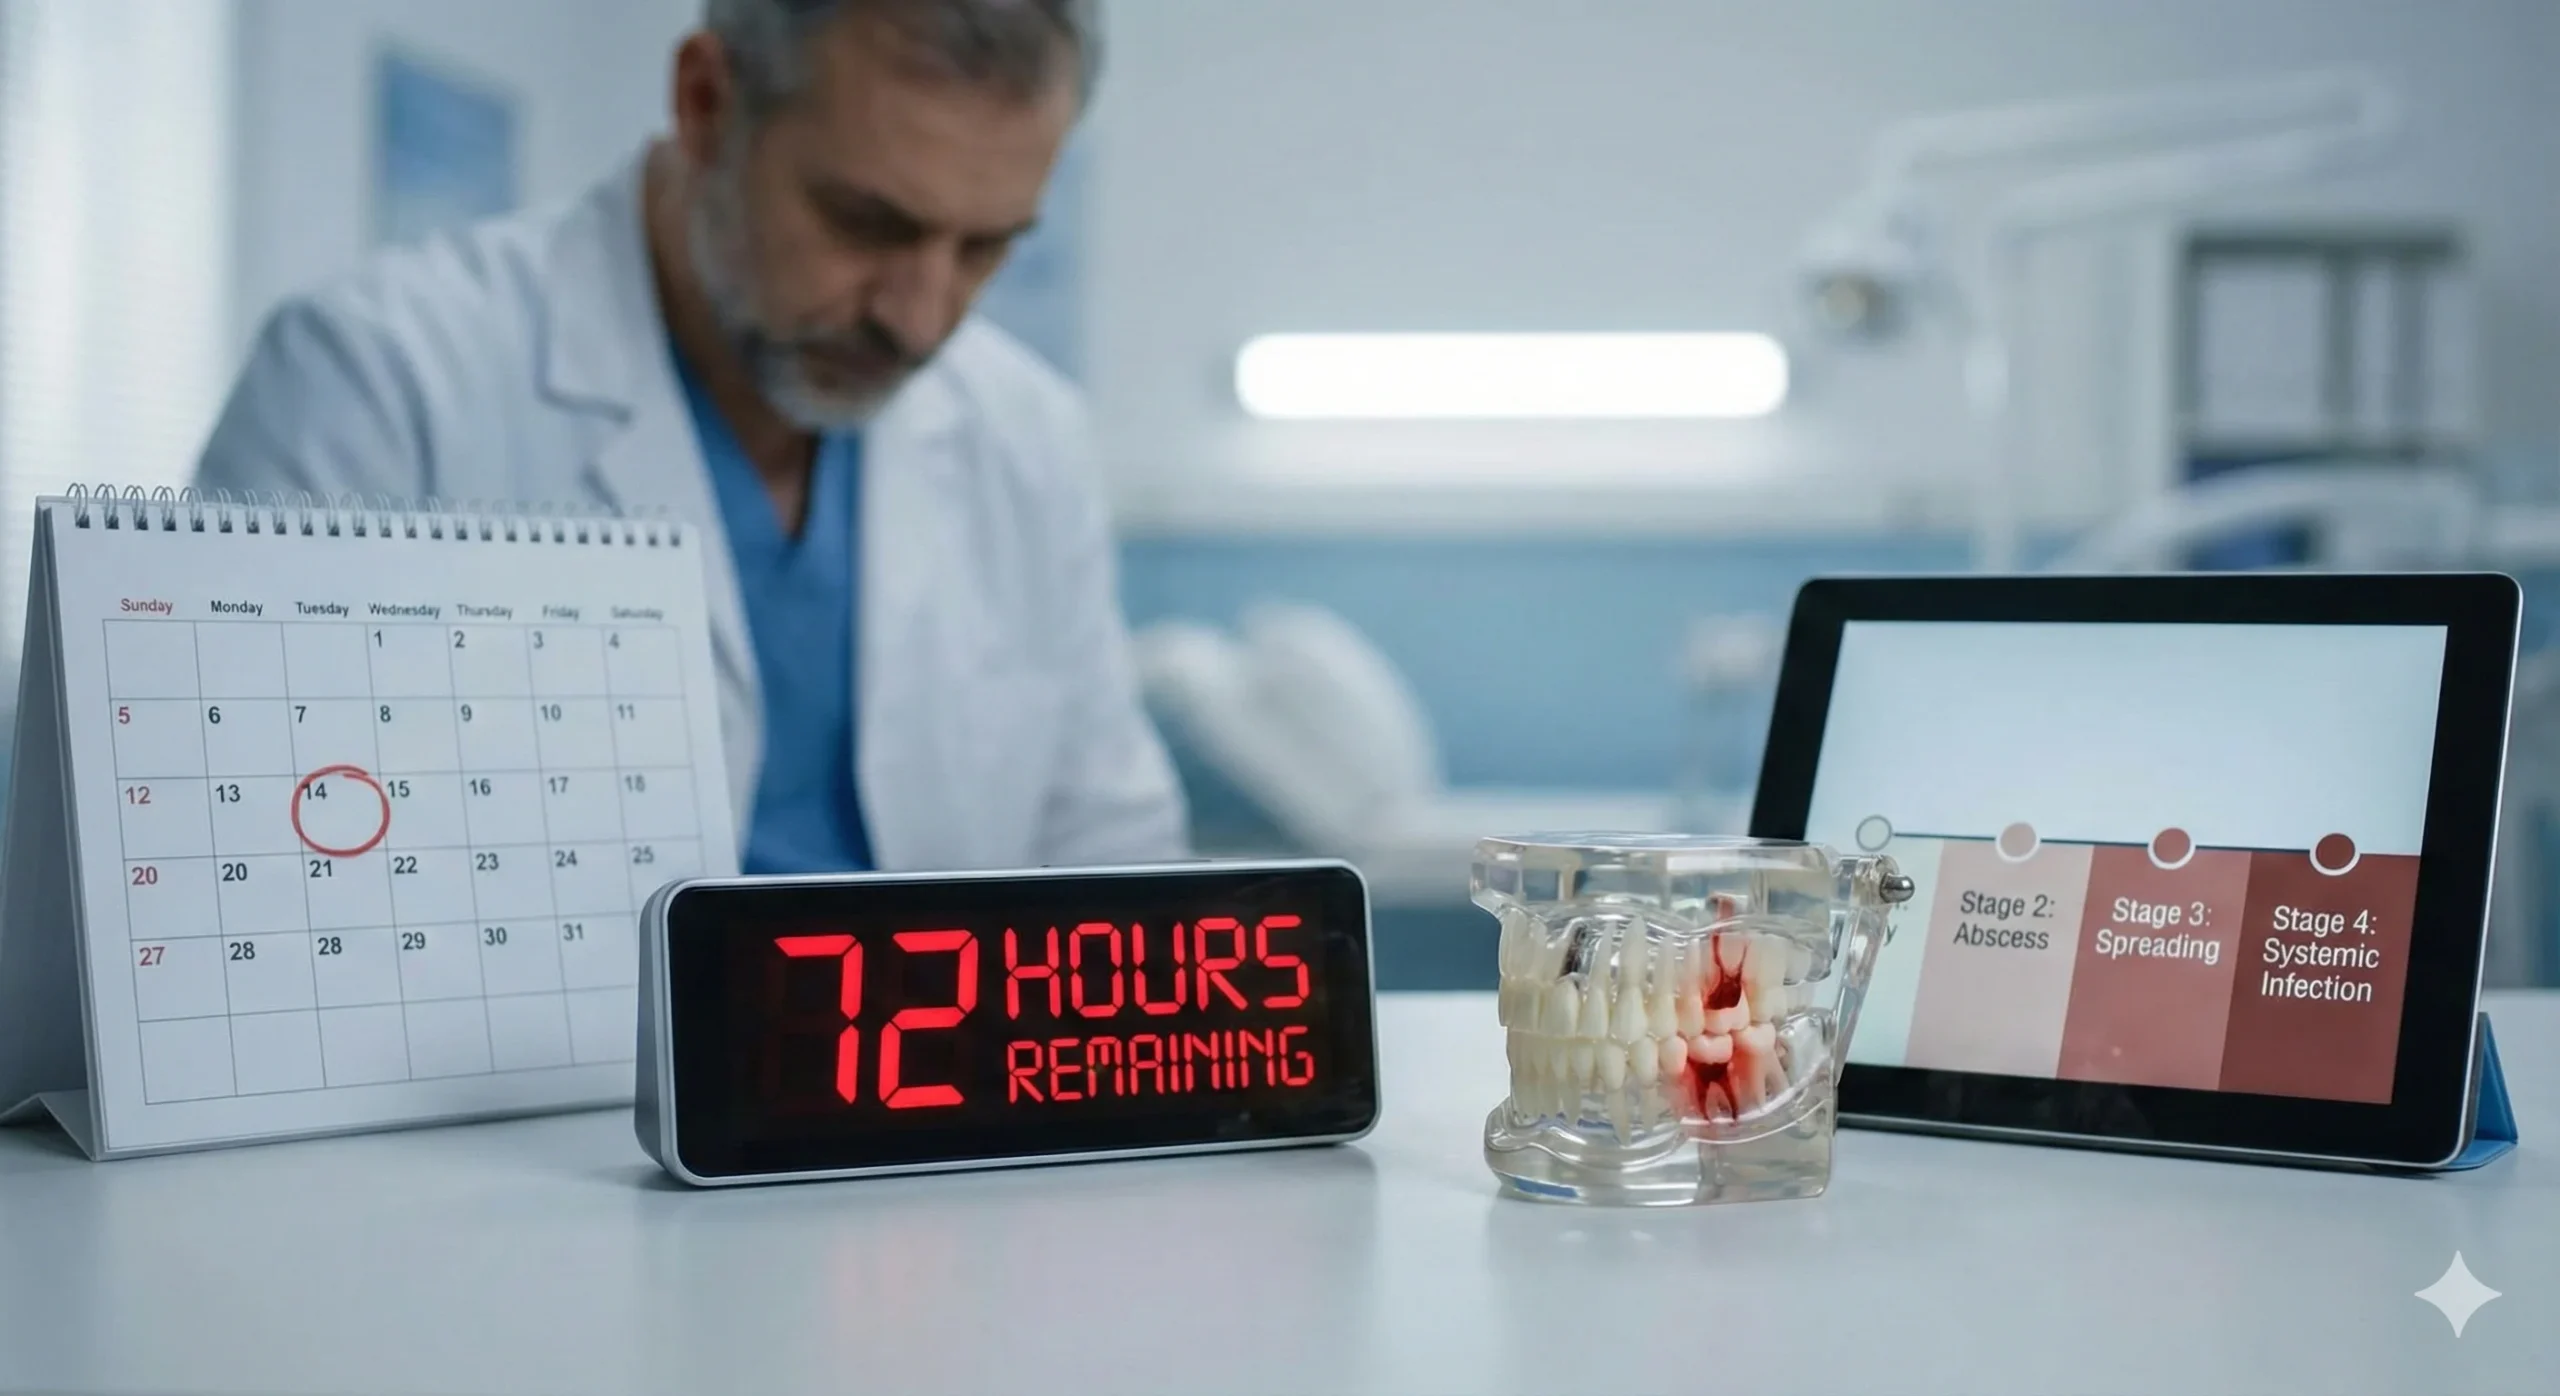
These dark, tight spaces are the perfect breeding ground for plaque—a sticky film of bacteria that feeds on trapped food particles and produces acids that destroy your enamel. Learning how to floss properly is the only mechanical way to remove this hidden plaque before it hardens into tartar, leads to cavities, or triggers severe gum disease.
Let’s break down the exact, step-by-step technique recommended by dental professionals to ensure you are actually cleaning your teeth, not just snapping a string around.
The Golden Rule: Should You Floss Before or After Brushing?
This is one of the most common debates in dental hygiene, but the clinical consensus is incredibly clear: You should always floss before you brush.
Here is the biological mechanism behind this rule: When you floss first, you are physically dislodging the trapped food debris and sticky plaque from between your teeth, pulling it out into the open mouth. When you follow up immediately with your toothbrush, you sweep all that loosened debris away completely. Furthermore, clearing out those tight interdental spaces first means the fluoride from your toothpaste can actually penetrate between the teeth to strengthen the enamel where cavities frequently start. If you brush first, your toothpaste simply cannot reach those blocked areas.
Step-by-Step: The Proper Flossing Technique
Proper flossing is not about speed; it is about precision. Rushing through the process or snapping the floss violently can actually cause irreversible damage to your delicate gum tissue. Follow this five-step method for a safe, comprehensive clean.
1. Measure the Right Length
One of the biggest mistakes beginners make is using a piece of floss that is far too short. Cut a piece of string floss about the length of your forearm—roughly 45 centimeters (or 18 inches). You need this length so you have enough clean sections to use for your entire mouth without reintroducing bacteria from one tooth into another gap.
2. The Proper Grip
Wrap the vast majority of the floss around your middle fingers. Your middle fingers act as the “spools” that will hold the tension and store the clean and dirty floss. Leave about 5 centimeters (2 inches) of string taut between your hands. Now, pinch that taut section firmly between your thumbs and index fingers. This grip gives you the maximum control necessary to guide the string precisely without slipping.
3. The C-Shape Glide (The Crucial Step)
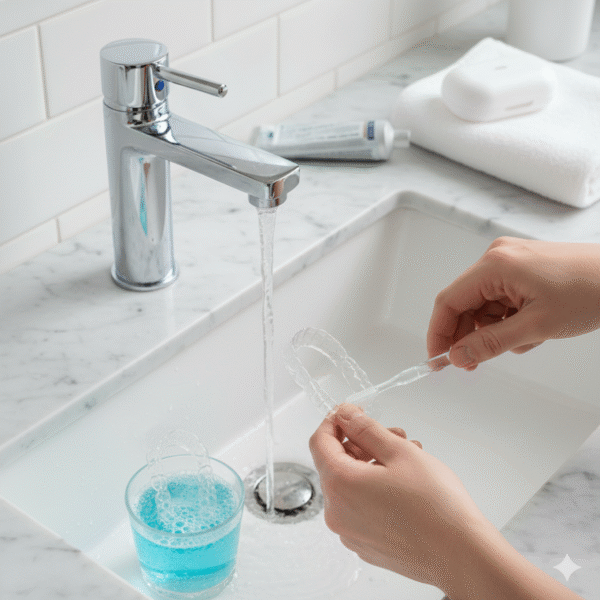
Gently guide the floss into the gap between two teeth. Never snap the floss down violently. If the contact point between the teeth is tight, use a gentle back-and-forth sawing motion to ease the string through the gap.
Once the string is through, curve the floss into a tight “C-shape” against the side of one tooth. Carefully slide the floss down just under the gumline until you feel slight resistance. Do not force it. Wipe the side of the tooth by moving the floss up and away from the gum 2 to 3 times. Mastering this specific C-shape motion removes the hidden plaque that hardens into tartar, helping you avoid severe decay and the headache of figuring out how much does a crown cost to fix a deeply damaged tooth down the line.
After wiping one side, curve the floss into a C-shape against the adjacent tooth in the same gap, and repeat the wiping motion.
4. Use a Clean Section Every Time
Once you have cleaned both sides of a gap, carefully pull the floss out using that same gentle sawing motion. Before you move to the next set of teeth, unroll a fresh, clean section of string from one middle finger while rolling the dirty, used section onto the other middle finger. You must use a clean segment for every single gap to prevent transferring harmful bacteria around your mouth.
5. Do Not Forget the Back Molars
The most frequently missed areas in the mouth are the distal surfaces—the very backs of your final molars. Even though there is no adjacent tooth behind them, food debris and plaque heavily accumulate where the gum meets the back of the tooth. Make sure you reach all the way to the back to clean behind your last molars, or even further back if you still have them and have ever wondered why are they called wisdom teeth while trying to clean around them.
Flossing Alternatives: What If String Floss is Too Hard?
Traditional string floss is highly effective, but it requires a degree of manual dexterity. If you have braces, permanent retainers, arthritis, or exceptionally tight teeth, traditional flossing might feel impossible. Fortunately, there are clinically proven alternatives:
- Interdental Brushes: These look like tiny, flexible wire pipe cleaners. They are designed to simply slide in and out of the triangular gaps between your teeth. They are incredibly effective at removing plaque and are often much easier to maneuver than string.
- Water Flossers: These electronic devices shoot a highly targeted, pulsating stream of water between the teeth and below the gumline. They are fantastic for blasting away food debris and plaque, and they are the gold standard for anyone wearing braces or navigating dental bridges and implants.
FAQs on Dental Flossing
Why do my gums bleed when I floss? Bleeding gums are almost always a sign of gingivitis (early gum inflammation). When plaque is left between the teeth, the bacteria irritate the gums, causing them to become swollen, red, and prone to bleeding. If you floss gently and consistently every single day, the bleeding should stop within a week or two as the inflammation subsides and the tissue heals. If it persists, see a dentist.
Can flossing pull out or loosen my fillings? No. A properly applied, healthy dental filling is fully bonded to the tooth structure and is incredibly secure. If your floss regularly catches on a filling, or if a filling is pulled out by flossing, it means the filling was already failing, cracked, or had decay forming underneath it. In that case, the flossing did you a favor by highlighting a problem that needed immediate professional attention.
Taking just two extra minutes a day to master the C-shape flossing technique will drastically improve your oral health, give you fresher breath, and save you money in the dentist’s chair. Tonight, before you reach for your toothbrush, make sure you reach for the floss first.