


In the world of gardening, there is one golden rule: Nature abhors bare soil.
If you look at a forest floor, you never see exposed dirt. It is always covered—by fallen leaves, decaying wood, or living plants. As gardeners, we should mimic this system. “Covering garden beds” refers to two distinct but equally important processes: filling the volume of a new bed with layered organic matter, and protecting the surface of an existing bed from the elements.
Whether you are building a brand new raised bed and trying to save money on soil, or winterizing your garden to protect it from snow, this guide covers every layer from the bottom up.
Part 1: The Foundation – Cardboard Under Raised Beds
Before you dump a single bag of soil, you must establish a weed barrier. Many new gardeners make the mistake of using landscape fabric (which eventually clogs and prevents worm movement) or plastic (which drowns the soil).
The best solution is putting cardboard under raised bed frames.
Why Cardboard?
- Weed Suppression: It smothers grass and aggressive weeds effectively.
- Decomposition: Unlike plastic, cardboard will rot away within 6-12 months. This allows earthworms and beneficial microbes to migrate up from the native soil into your raised bed.
- Cost: It is free. Use shipping boxes (remove the tape!) or ask local appliance stores for refrigerator boxes.
How to do it: Lay the cardboard directly over the grass inside your wooden frame. Overlap the edges by at least 6 inches so weeds can’t sneak through the cracks. Water the cardboard thoroughly until it is soggy; this jumpstarts the decomposition process.
Part 2: How to Fill a Raised Garden Bed (The Layering Method)
If you have a standard 4×8 raised bed that is 12 inches deep, buying enough bags of potting soil to fill it can cost hundreds of dollars. The smarter approach is to use “biomass” to fill the bottom half. This technique, often called Hugelkultur or “Lasagna Gardening,” creates a nutrient-rich sponge at the bottom of your bed.
Here are the optimal raised bed layers to save money and improve plant health:
Layer 1: The Bulk (Bottom 30%)
Material: Old logs, branches, firewood, or thick sticks. Function: This woody material takes years to break down. As it decays, it acts like a sponge, holding water deep in the bed so you don’t have to water as often in August. It also creates air pockets for root health.
Layer 2: The Nitrogen (Middle 20%)
Material: Grass clippings, green garden waste, kitchen scraps, or manure. Function: The wood at the bottom requires nitrogen to break down. By adding a green layer, you balance the carbon/nitrogen ratio, essentially turning your garden bed into a slow-motion compost pile.
Layer 3: The Filter (Middle 10%)
Material: Shredded leaves or more cardboard. Function: This prevents the fine soil on top from sifting down into the cracks of the logs too quickly.
Layer 4: The Growing Medium (Top 40%)
Material: High-quality topsoil mixed with compost. Function: This is where your plants’ roots will live for the first season. Because you filled the bottom 60% with free debris, you can afford to spend a little more on high-quality soil for this top layer.
Part 3: Covering Garden Beds for Winter
Once your bed is filled and your summer harvest is over, you should never leave the soil exposed to winter rain and snow. Heavy precipitation washes away nutrients (leaching) and compacts the soil structure.
Best methods for winter covering:
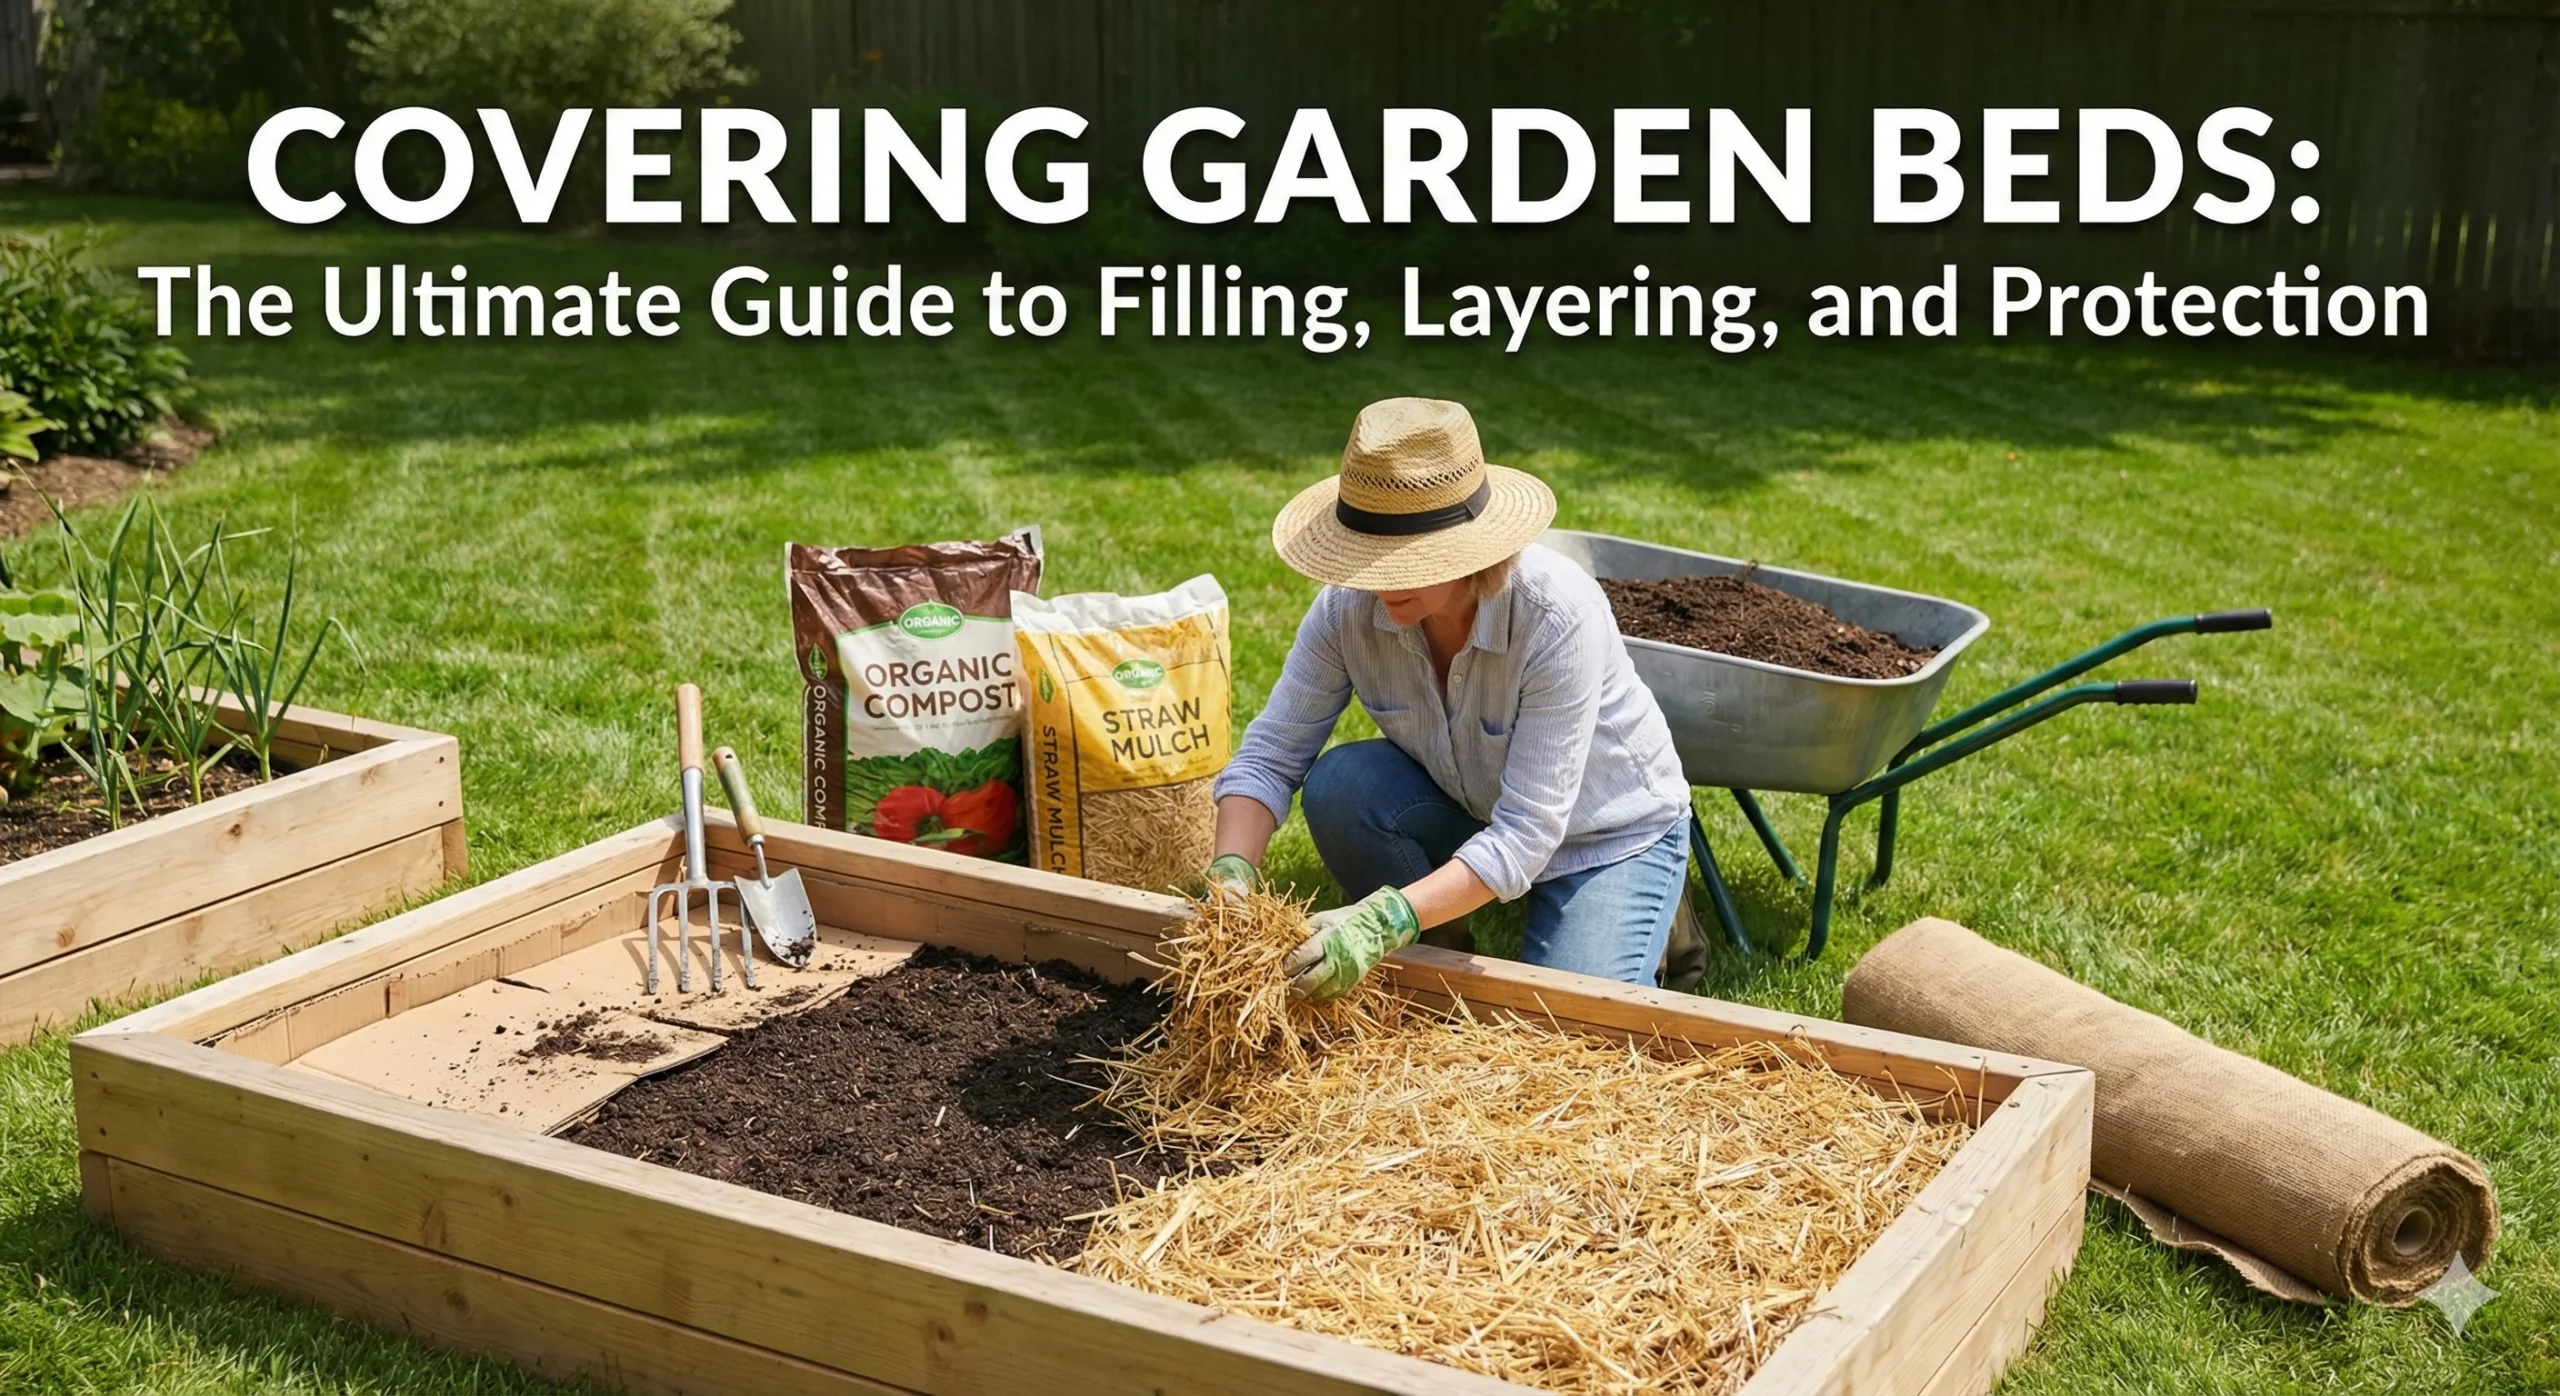
- Mulch: Apply a thick 4-inch layer of straw, shredded leaves, or wood chips. This insulates the soil and prevents erosion.
- Tarps (Occultation): Covering the bed with a black silage tarp protects the soil and prevents early spring weeds from germinating. It also warms the soil up faster in spring.
- Cover Crops: Plant “living mulch” like crimson clover or winter rye. These plants fix nitrogen in the soil and keep the root web alive during the cold months.
Part 4: Season Extension with Raised Bed Covers
Finally, “covering” can refer to adding a roof to your bed to control the climate. Installing raised bed covers allows you to plant 4-6 weeks earlier in spring and harvest late into autumn.
Types of Covers
- Frost Cloth (Floating Row Covers): A lightweight white fabric that lets light and water through but traps heat. It can protect sensitive peppers and tomatoes from a light frost.
- Insect Netting: If you struggle with cabbage moths eating your kale, covering the bed with fine mesh netting is the only 100% organic solution.
- Mini-Greenhouses: By bending PVC pipes into hoops over your bed and covering them with clear greenhouse plastic, you create a humid, warm environment perfect for starting seeds.
Design Tip: If you want your garden to look as good as it grows, consider placing large flower pots (terracotta) at the corners of your covered beds. This softens the industrial look of the plastic covers and adds a touch of classic style.
Conclusion
Whether you are layering cardboard to stop weeds, filling the bottom with old logs to save cash, or snapping a frost cloth over your lettuce, the principle is the same: protection.
By filling raised garden beds with organic layers and keeping them covered year-round, you are building a soil ecosystem that gets better with age. Instead of depleting your soil every year, you are constantly feeding it.