


Whether you are storing personal financial records, a comprehensive client database, or your company’s monthly payroll, leaving an Excel file completely open on a shared network or in an email attachment is a massive security risk. However, data security in Microsoft Excel is not a one-size-fits-all switch.
Microsoft Excel offers different tiers of protection depending on exactly what you need to secure. You can completely lock the file so no one can even open it, or you can simply lock down specific formulas to stop a well-meaning colleague from accidentally deleting your complex calculations while they enter new data. Here is a definitive, step-by-step guide to applying the right level of password protection to your spreadsheets.
Level 1: How to Protect an Entire Excel File (Encryption)
This is the highest level of native security available in Microsoft Office. It encrypts the entire file. If someone intercepts the document, they cannot open, view, or extract any data from it without knowing the exact password.
The Steps to Encrypt:
- Open your Excel spreadsheet and click on the File tab in the top-left corner of the ribbon.
- Navigate to the Info section on the left-hand menu.
- Click the large button labelled Protect Workbook to open a dropdown menu.
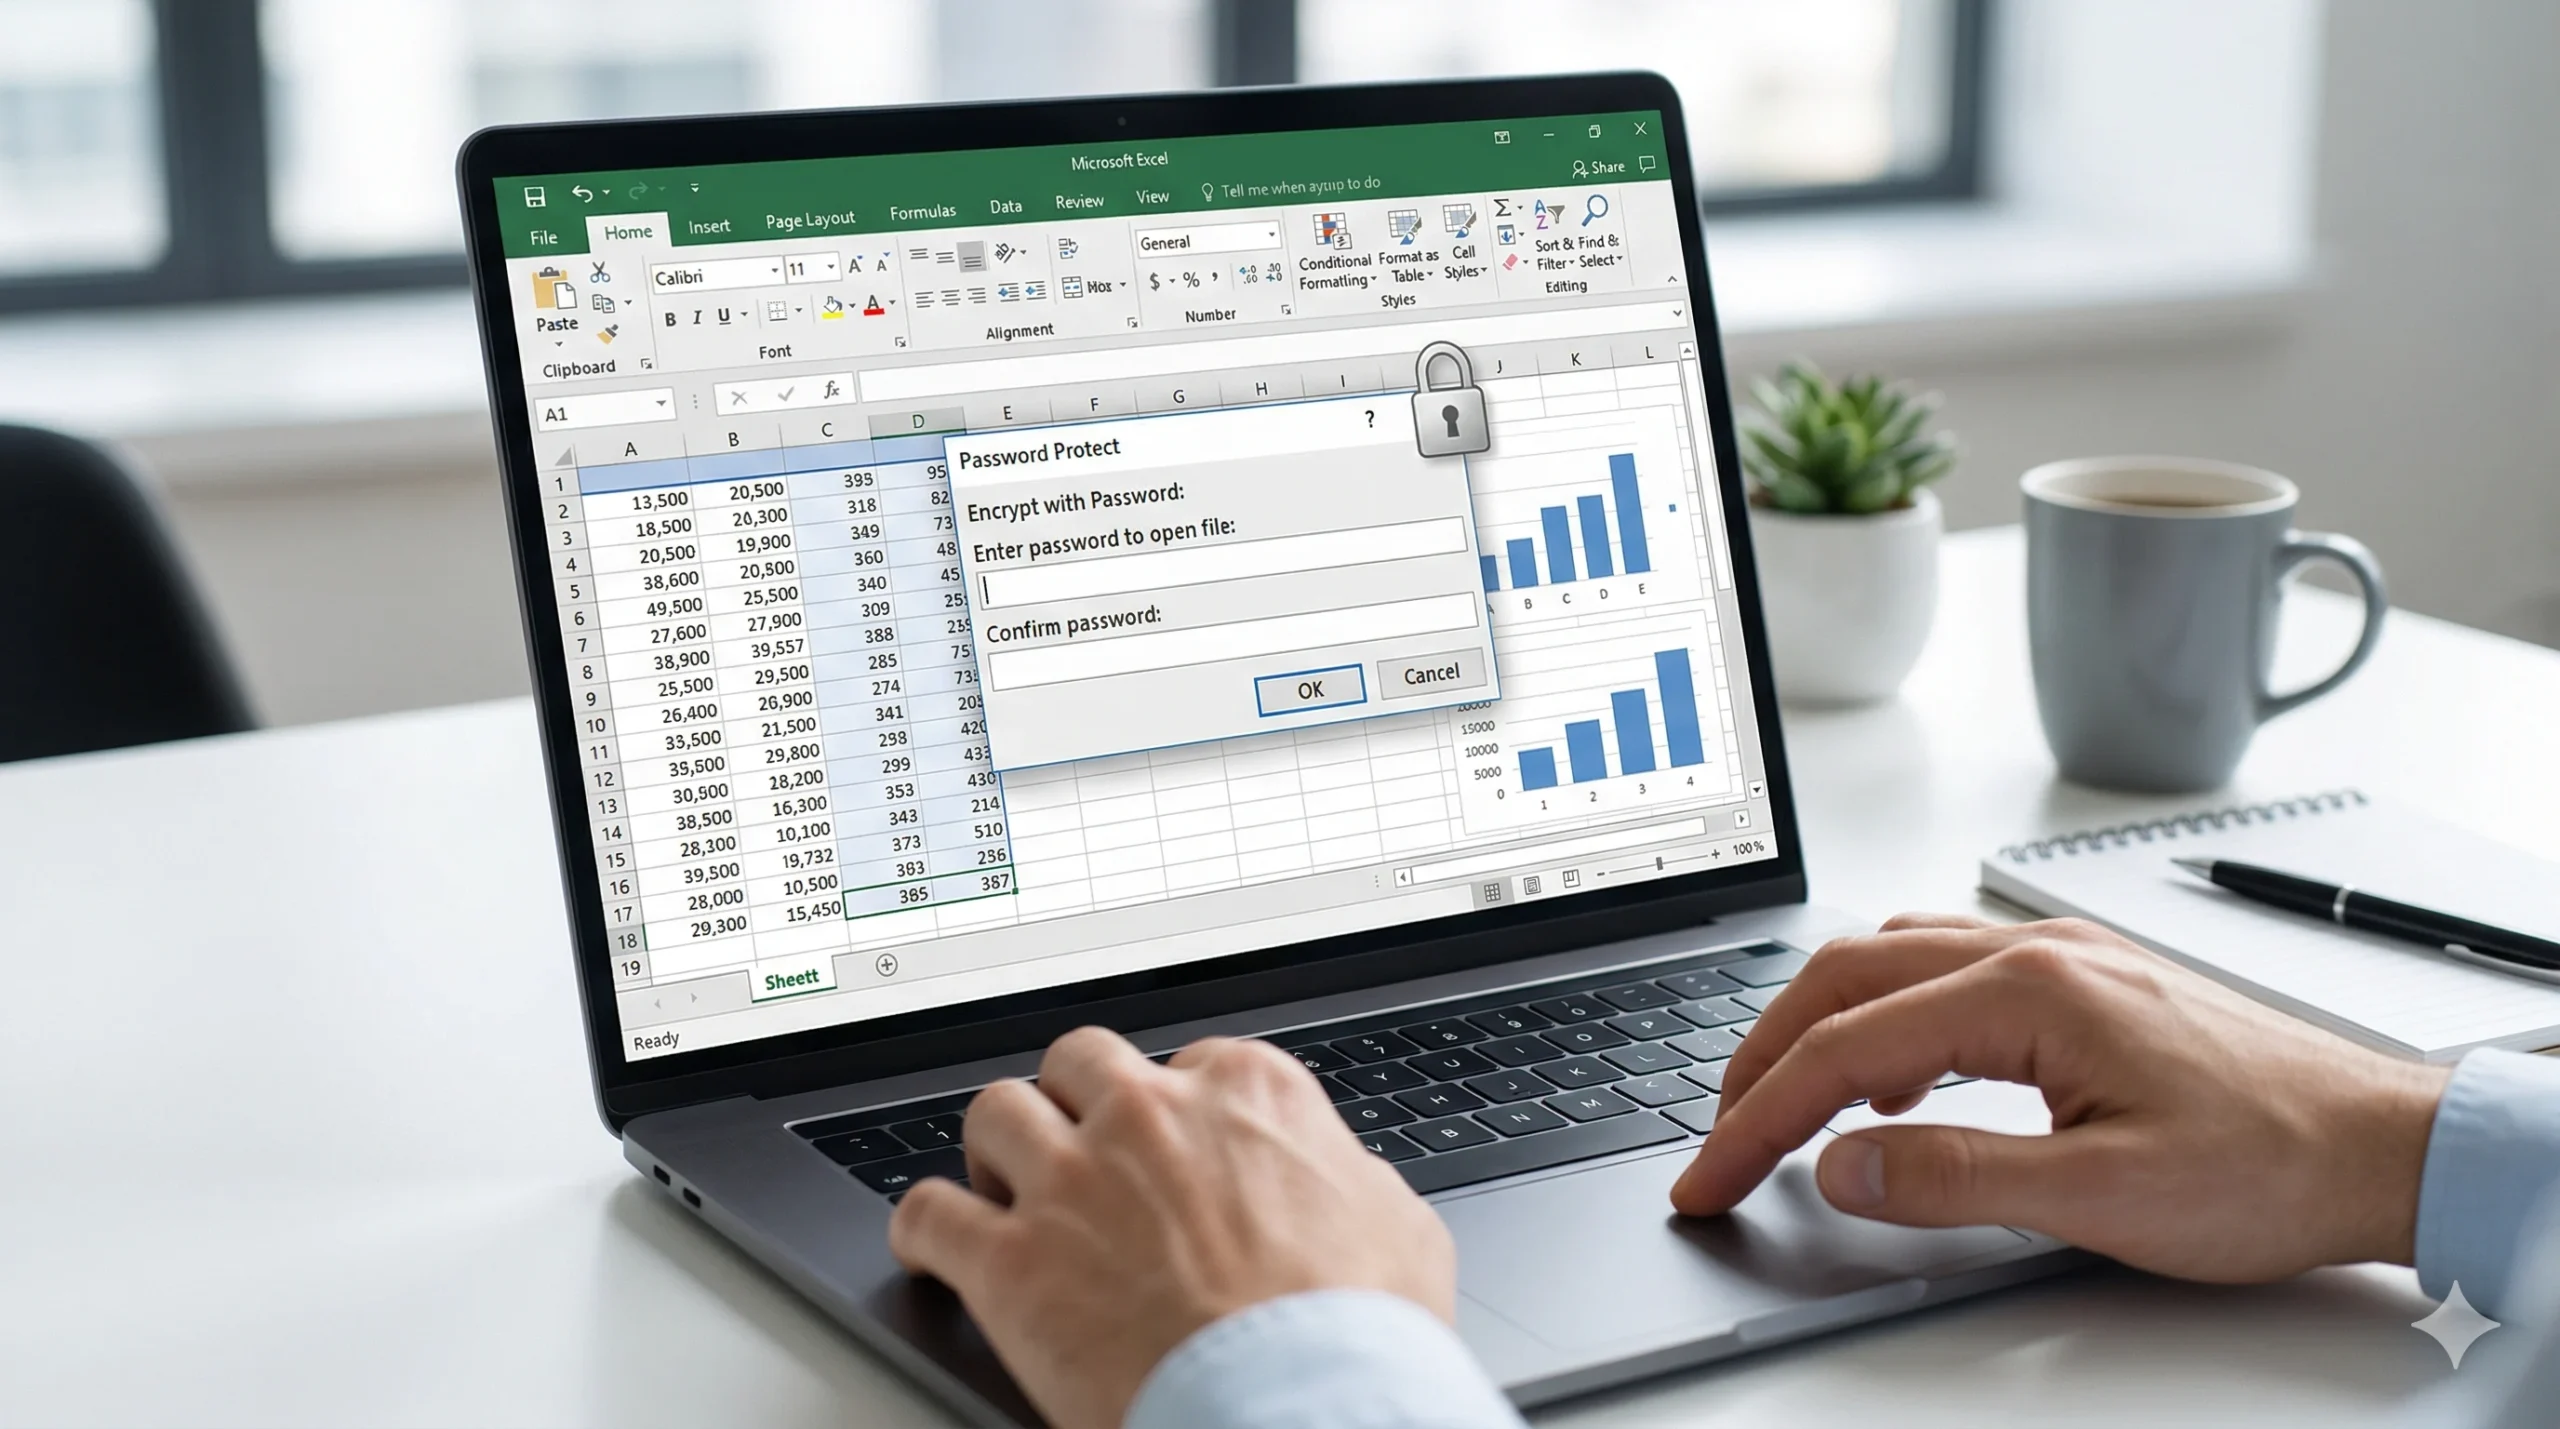
- Select Encrypt with Password.
- A prompt will appear. Enter a strong password, click OK, and then confirm the password by typing it a second time.
- Save the document. The next time anyone tries to open this file, Excel will immediately demand the password before loading the grid.
Crucial Warning: Microsoft does not keep a record of your passwords and cannot recover them for you. If you lose or forget this password, the encryption cannot be natively bypassed, and your data is permanently locked. Always store your master passwords securely.
Level 2: How to Protect a Single Worksheet (Preventing Edits)
Often, you do not need to lock people out of the file entirely; you just need to stop them from breaking it. If you have built a complex dashboard and you want a colleague to view the data and maybe fill in a few specific input boxes, you need to use Sheet Protection.
Applying this requires a two-step workflow, as you must first tell Excel which cells are allowed to be touched.
Step 1: Unlock the “Input” Cells
By default, every single cell in a fresh Excel spreadsheet is formatted as ‘Locked’. However, this lock only engages when you actively turn on the sheet protection. If you turn on protection immediately, the entire sheet freezes.
To leave specific cells open for your colleagues to type in:
- Highlight the specific cells or columns you want people to be able to edit.
- Right-click the highlighted area and select Format Cells from the context menu.
- Navigate to the Protection tab on the far right of the pop-up window.
- Uncheck the box that says Locked and click OK.
Step 2: Lock the Rest of the Sheet
Now that you have designated your open input areas, you can lock down the rest of the sheet to protect your headers and formulas.
- Go to the Review tab on the main top ribbon.
- Click Protect Sheet.
- A menu will appear allowing you to specify exactly what actions are permitted. For example, you can allow users to select cells or sort data, but strictly prevent them from deleting rows or formatting columns.
- Enter a password at the top of this prompt, click OK, and confirm it. Your formulas are now safe from accidental deletion.
Level 3: Protecting the Workbook Structure
This is a middle-ground protection tier. Protecting the workbook structure allows users to freely edit the data inside the cells on the screen, but it strictly prevents them from altering the architecture of the file itself.
When this protection is active, users cannot add new sheets, delete existing sheets, hide sheets, or rename the tabs at the bottom of the screen.
The Process: 1. Navigate to the Review tab on the main ribbon. 2. Click the Protect Workbook button (located directly next to the Protect Sheet button). 3. Enter a password, confirm it, and save the file. The structural commands (like right-clicking a tab to delete it) will instantly become greyed out and unclickable for all users.
The Reality: Is Excel Password Protection Actually Safe?
If you are storing highly sensitive data, you need to understand the harsh realities of Microsoft Office cybersecurity. Excel’s password protection is only as strong as the file format you save it in.
The .xls Vulnerability: If you are saving your files in the older Excel 97-2003 format (which has the .xls file extension), your encryption is incredibly weak. These legacy passwords rely on outdated hashing algorithms. They can be bypassed, cracked, or instantly stripped in a matter of seconds using free, widely available third-party tools found online. An .xls password will stop an honest colleague, but it will not stop a malicious actor.
The Solution: You must always ensure you are saving sensitive data in the modern .xlsx format. The .xlsx format utilizes robust AES (Advanced Encryption Standard) 128-bit or 256-bit encryption. If you use a sufficiently long and complex password, an .xlsx file is practically impossible to brute-force.
Furthermore, if you are storing highly sensitive customer financial data or employee records, do not rely solely on Excel. You must pair a modern .xlsx file with a dedicated encryption tool and a complex key stored securely in one of the best password managers available today to ensure enterprise-level compliance.
FAQs on Excel Passwords
How do I remove the password from an Excel file? To remove a password, you must first know the current password to open the file. Once open, go to File > Info > Protect Workbook > Encrypt with Password. The password box will appear showing black dots. Highlight those dots, delete them so the box is entirely blank, and click OK. Save the file, and the encryption is permanently removed.
Can I password-protect a specific column in Excel? Yes. To do this, you must highlight the entire sheet (clicking the triangle in the top-left corner of the grid) and ensure all cells are checked as ‘Locked’ in the Format Cells menu. Then, highlight just the specific column you want to leave open, right-click, select Format Cells, and uncheck ‘Locked’ for that column alone. Finally, go to the Review tab and click Protect Sheet. The entire grid will be frozen except for that single column.
Excel provides excellent, granular tools for preventing accidental workplace edits and securing basic files from prying eyes. Simply remember the golden rule of spreadsheet security: structural locks keep your colleagues honest, but only a strong password combined with the modern .xlsx format will actually keep your data safe.