

If you’ve ever walked into your garage in winter and felt a blast of icy air—or struggled to keep it cool during summer—you’ve probably wondered how to fix it without spending a fortune. The answer is simple: insulate your garage door.
Learning how to insulate garage door can dramatically improve your home’s comfort, lower your energy bills, and even reduce noise. Whether you use your garage as a workshop, gym, or storage area, this step-by-step guide will help you get it right — no professional installer needed.
🧱 Why You Should Insulate Your Garage Door
Insulating a garage door keeps your garage warmer in winter and cooler in summer by preventing heat loss and reducing drafts. It also improves energy efficiency, cuts noise, and helps protect your car, tools, and stored items from temperature fluctuations.
Here’s why insulation matters more than you think:
- Better temperature control: Keeps adjacent rooms (like bedrooms or laundry areas) warmer.
- Energy savings: Less strain on your home’s heating and cooling systems.
- Noise reduction: Foam insulation panels act as sound barriers.
- Increased door durability: Adds strength and stability to thin metal doors.
- Improved comfort: Makes garages usable year-round.
If you’re serious about home efficiency, this simple weekend project can make a huge difference.
🧊 What Kind of Insulation Works Best for Garage Doors?
Choosing the right material depends on your budget, door type, and climate. Let’s compare the most popular garage door insulation panels and materials:
1. Foam Board Insulation (Polystyrene or Polyisocyanurate)
- Lightweight and rigid.
- Provides excellent thermal resistance (R-value 3–6 per inch).
- Easy to cut and install.
- Great for garage door foam insulation projects.
2. Reflective Foil Insulation
- Ideal for hot climates — reflects radiant heat away.
- Works best when there’s an air gap between foil and door surface.
- Commonly used in pre-made garage door insulation kits.
3. Fiberglass Batt Insulation
- Soft, flexible, and effective for detached garages.
- Must be covered with plastic or foil facing to prevent moisture.
- Not ideal for moving doors (heavier weight).
4. Spray Foam Insulation
- Expands into gaps and seals air leaks perfectly.
- More expensive, but extremely energy-efficient.
- Better suited for full garage insulation, not just the door.
💡 Pro Tip: The best all-around option for homeowners is foam board or insulation panels for garage doors — easy to install, lightweight, and highly effective.
🧰 Tools and Materials You’ll Need
Before starting your insulating garage door project, gather these supplies:
Materials:
- Foam insulation boards or garage door insulation panels
- Measuring tape
- Straight edge or ruler
- Utility knife or saw
- Adhesive (high-strength spray or double-sided tape)
- Retaining clips or fasteners (optional)
- Weatherstripping (for edges and bottom seal)
Tools:
- Safety gloves & goggles
- Marker or pencil
- Ladder (if needed)
- Cleaning cloth
Having everything ready ensures a smooth, efficient installation.
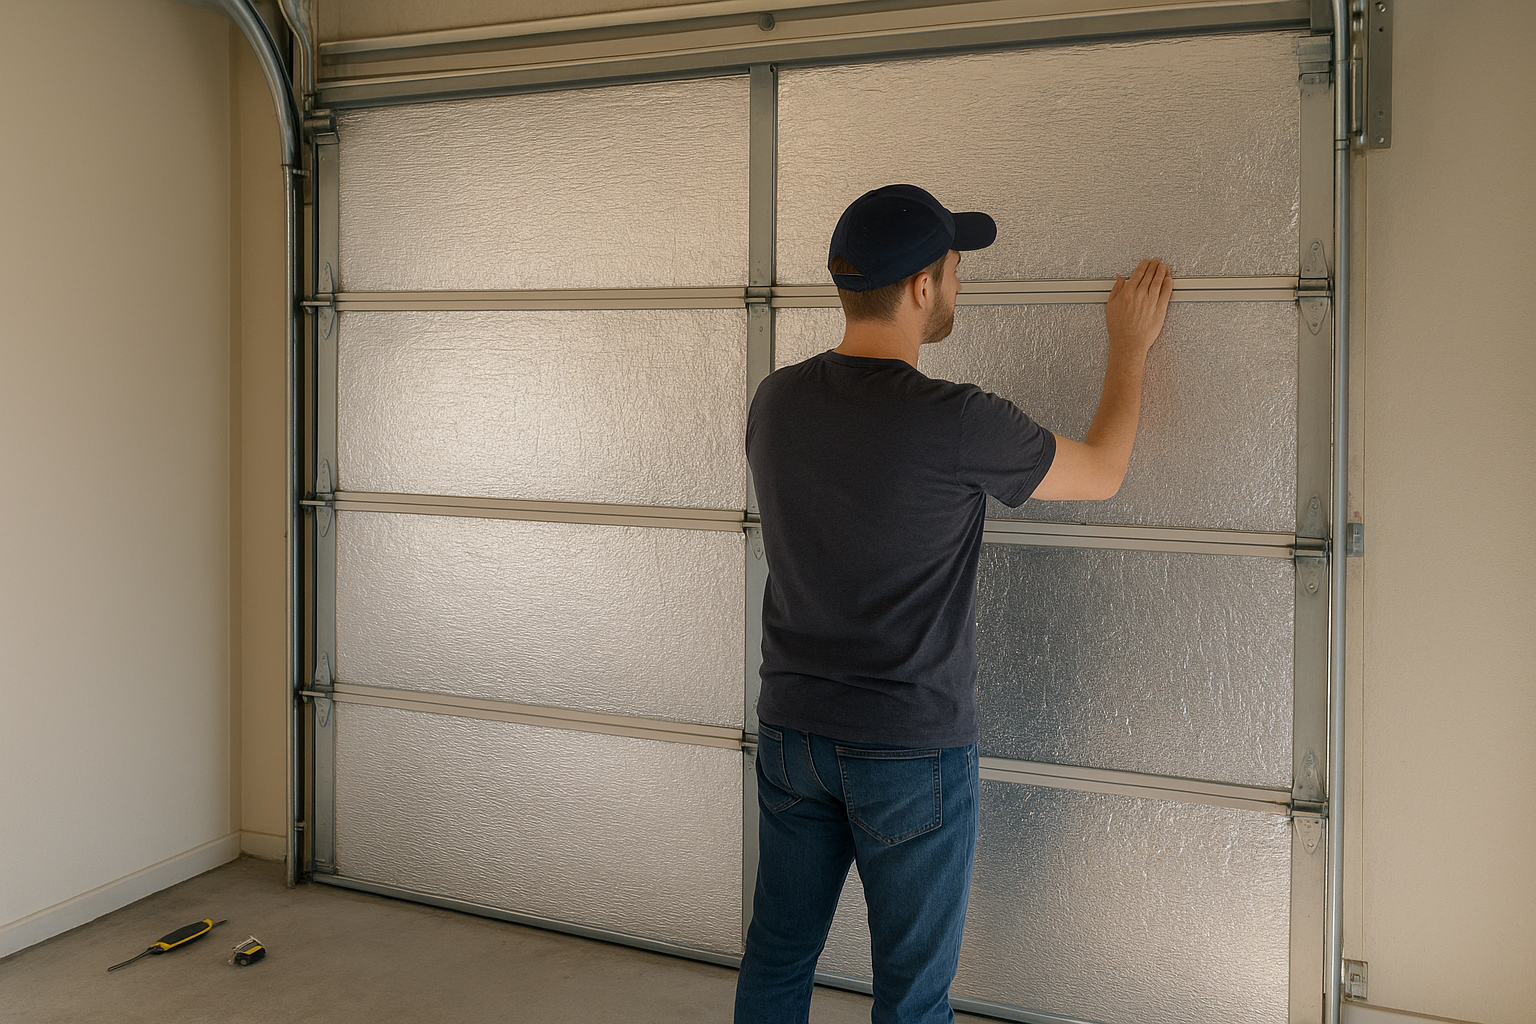
🔧 Step-by-Step: How to Insulate a Garage Door
Step 1: Clean and Measure the Panels
Start by cleaning the inside surface of your garage door. Dust, oil, or moisture can prevent adhesives from sticking.
Then, measure the width and height of each door section (typically 8–9 panels).
Step 2: Cut the Insulation Panels
Use your utility knife to cut foam or panel insulation to size. Aim for a snug fit — too tight and it’ll bulge, too loose and you’ll lose insulation efficiency.
Step 3: Attach the Insulation
Apply adhesive directly onto the door’s metal surface or use garage door insulation clips.
Press the insulation panels firmly into place, ensuring they sit flat and even across each section.
Step 4: Seal the Edges
To prevent air leaks, add weatherstripping along the sides and bottom of the garage door. This step also helps with soundproofing.
Step 5: Test the Door Movement
After the panels are secure, open and close the door slowly to ensure it operates smoothly. If it feels heavier, adjust the tension on the springs slightly (consult your door manual or a technician if needed).
And that’s it! You’ve just finished your DIY garage door insulation — in less than half a day.
🏠 Should You Use an Insulation Kit or DIY Materials?
There are two main ways to go about insulating garage doors:
| Method | Pros | Cons |
|---|---|---|
| Insulation Kit | Pre-cut materials, includes clips & instructions | More expensive, limited size options |
| DIY Panels | Custom-fit, budget-friendly, easy to replace | Takes more measuring & cutting |
For standard steel or aluminum doors, DIY insulation panels are typically the best value. They perform just as well as kits and cost less overall.
💡 Bonus Tips for Better Garage Insulation
- Don’t skip the weatherstripping: It’s essential for sealing gaps.
- Insulate the ceiling and walls too: Especially if your garage is attached to the house.
- Check the door’s balance: After adding weight, adjust spring tension.
- Add reflective foil: For hot climates, double up with foil-faced panels to reflect radiant heat.
- Mind moisture: Avoid trapping condensation between metal and insulation.
🚫 Common Mistakes to Avoid When Insulating a Garage Door
- Using the wrong materials: Fiberglass can sag or get wet — not ideal for metal doors.
- Blocking hinges or tracks: Always leave space around moving parts.
- Skipping measurements: Uneven insulation looks messy and performs poorly.
- Neglecting ventilation: Garages still need airflow to prevent mold buildup.
If done correctly, your newly insulated garage door can reduce heat loss by up to 70% — making your home significantly more energy-efficient.
🔎 FAQs
When do I need to replace insulation panels?
Typically every 5–10 years, or sooner if they get damp or damaged.
Is garage door foam insulation safe?
Yes, as long as it’s fire-rated and properly installed.
Does insulation make the garage door heavier?
Slightly, but most modern doors can handle it. You may just need a small spring adjustment.
How much does it cost to insulate a garage door?
DIY kits range from £50–£150, depending on material and door size.
Can I still paint the inside of my door?
Yes, but paint before you install insulation.
🌿 Eco and Energy Benefits
Insulating your garage isn’t just about comfort — it’s about sustainability. By reducing heat loss, you’re lowering your carbon footprint and cutting back on energy waste. Combined with proper sealing and LED lighting, garages can become surprisingly energy-efficient spaces.
🧱 Wrap-Up: Make Your Garage Comfortable, Efficient, and Quiet
Insulating your garage door is one of the smartest home upgrades you can do — affordable, quick, and highly effective. It improves temperature balance, boosts energy savings, and even extends the life of your garage door.
Once you’ve finished, you’ll immediately feel the difference — a quieter, warmer, and more usable space year-round.
If you’re diving into other practical home DIYs, check out:
- 💧 How to Turn Off Water to Your House — perfect for emergency preparedness.
- 🏠 How Long Does a Roof Last — a must-read for homeowners maintaining long-term value.